Showing posts with label machine quilting. Show all posts

Jun 13, 2014

Thimble Baby Quilt


I posted about this quilt here, a couple of months ago.
I smoothed it out on the tile floor and pinned the front to the back.


I backed this quilt with a really soft minky fabric.
A tutorial told me to use spray glue but I thought it would be too messy.
The slippery tile floor helped!


It was late at night and I used my chin on my iPhone to take this photo of my machine quilting :)


The green fabric will be the binding for this little baby quilt.


 The binding is Polka dot stitches by Lori Holt, it is the perfect shade of green.


Yay, the quilt is finished!


Here is the soft minky that I backed the quilt with :)


Paisley Louise will love her colorful quilt!!!


post signature


Oct 22, 2012

Baby Brit Quilt Along, week #11

 I showed you last week how I quilted in the ditch, and I think it makes the Union Jack blocks "pop".  I was afraid that if I did an "allover" design, that I might ruin the look....just because I'm not that experienced in machine quilting :)


I went to town on the sashing, doing a jigsaw design.  I tried to keep it as little and close together as possible.  I love the results!


I started seeing double after a while....that's a lot of stitching!


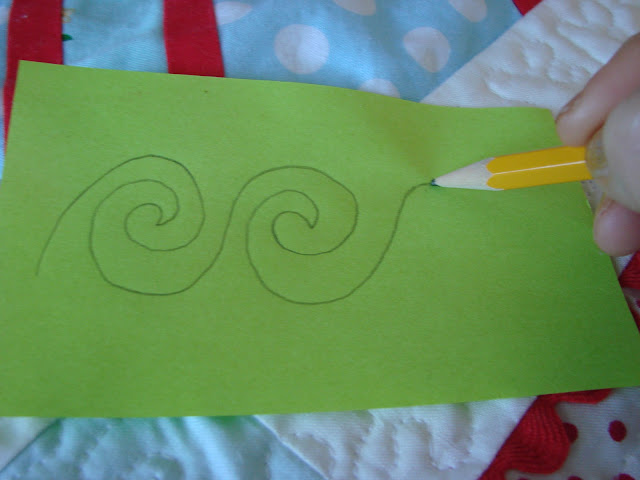
I wanted something different for the border.  I thought of flowers, but I did that once before.  I practiced a pretty swirl design on paper so I could get the hang of the curve of the swirls.


It's hard to see on the white, but here are the swirls!  


I'm pretty excited about the results.  I guess it just takes practice :)


This is the quilt, completely machine quilted.  I think it took me about 11 hours to quilt.  An hour for each of the Union Jack blocks, 3 hours for the jigsaw quilting, and 2 hours for the border.


I always love to look at the back of the quilt, but don't look too closely!  I really think that if my quilter didn't live in another state, I would have commissioned her to quilt my Baby Brit.  Then again, she just quilted two quilts for me and the expenses do add up.


Next week I will show you how I bound this quilt and that will be the end of our Baby Brit quilt along :)

Aug 22, 2012

Domestic Diva, quilted!

I wrote about this table runner back in May, here.
It took me 3 months to get around to quilting and binding it.

I quilted in the ditch, and it gave the quilt a "puffy" look.


I think I prefer the look of an all over stipple design.


I just love this Riley Blake "domestic diva" fabric!


Here is the finished table runner.  I wish I had used the red and white polka dots for the binding.  It would have made the divas "pop" more.  I still like it and can hardly wait to get it on my table :)


It's always a great feeling to get a project finished.

post signature

Jul 30, 2012

Great Granny Table Topper

This was such a fun little quilt to put together, it measures about 45" X 45".
As I showed you last week, I finished all nine blocks.


I didn't take any photos of sewing the sashing and the borders.
I sandwiched the quilt top, the quilt batting and the backing and pinned it all together with curved safety pins.
I use safety pins on small projects because I can't stand basting!


When I first started quilting, I quilted by hand.  After a few quilts, I realized that even using a thimble my fingers were so sore that I didn't have any feeling in them.  I thought it was best to machine quilt.  I really love this process.  I look at the quilt for a few minutes and determine what method of quilting I should do.  I felt that stitching in the ditch wouldn't take away from the beauty of the fabric in the squares.  If you don't know what stitching in the ditch is, it is stitching on the seam line.


After all the ditches were stitched, I outline stitched each square.


The quilting is finished!


I bought a beautiful Amy Butler fabric for the back of my quilt.  I wanted a bright color for the binding, to keep the theme of the colors in the squares.  I picked an aqua polka dot out of my stash and auditioned it with the Amy Butler fabric.  I like it.


I have a Robert Kaufman app on my smartphone which I use for calculating the binding.  It told me I needed 5 strips for my binding. I cut the strips and sewed them together and pressed them in half.


Now I'm attaching it to the quilted quilt, using the method I showed you in my binding tutorial part 1 and part 2.


The table topper is finished :)


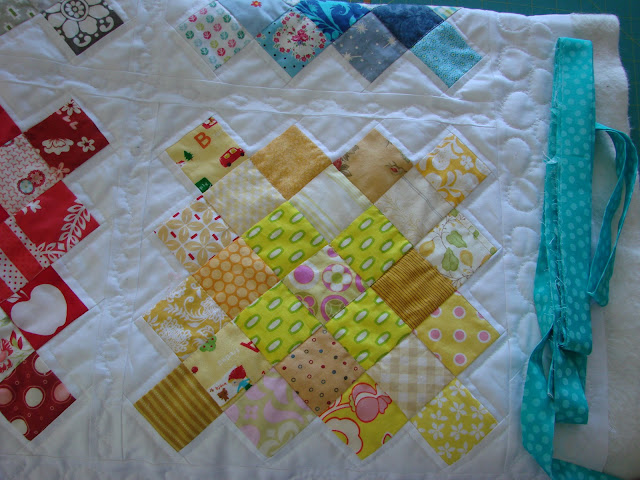
I decided to sew little circles on the sashing and borders of the quilt.
Here are some closeup photos.


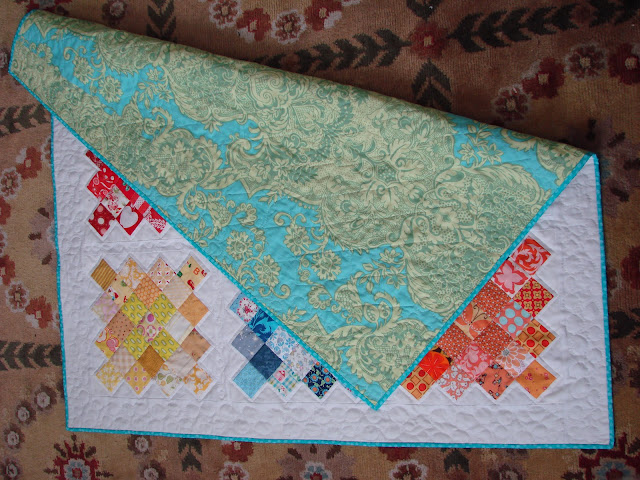
I love the back of the quilt!


See how the stitching in the ditch shows up on the back?


I love finishing a project.  I put in it various areas of the house and admire it as I walk by!  Am I weird?  lol


post signature