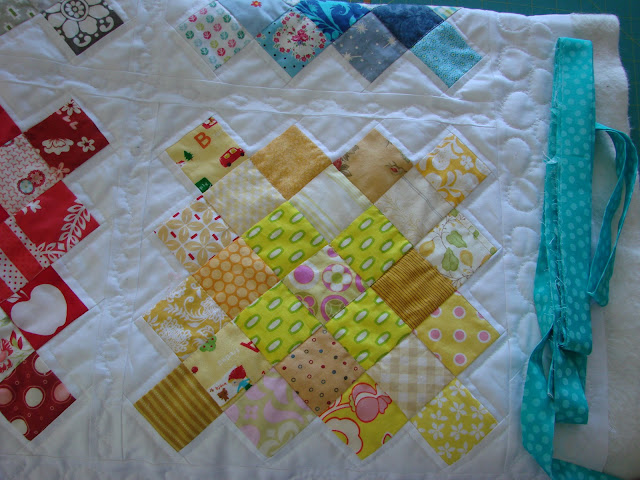
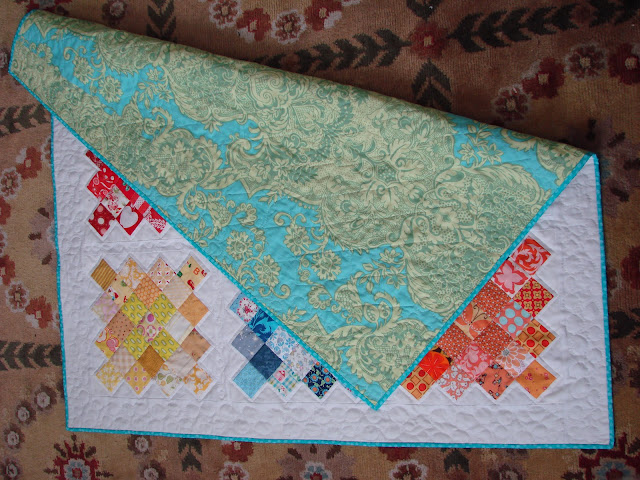
This was such a fun little quilt to put together, it measures about 45" X 45".
As I showed you last week, I finished all nine blocks.
I didn't take any photos of sewing the sashing and the borders.
I sandwiched the quilt top, the quilt batting and the backing and pinned it all together with curved safety pins.
I use safety pins on small projects because I can't stand basting!
After all the ditches were stitched, I outline stitched each square.
The quilting is finished!
I bought a beautiful Amy Butler fabric for the back of my quilt. I wanted a bright color for the binding, to keep the theme of the colors in the squares. I picked an aqua polka dot out of my stash and auditioned it with the Amy Butler fabric. I like it.
I have a Robert Kaufman app on my smartphone which I use for calculating the binding. It told me I needed 5 strips for my binding. I cut the strips and sewed them together and pressed them in half.
Now I'm attaching it to the quilted quilt, using the method I showed you in my binding tutorial part 1 and part 2.
The table topper is finished :)
I decided to sew little circles on the sashing and borders of the quilt.
Here are some closeup photos.
I love the back of the quilt!
See how the stitching in the ditch shows up on the back?
I love finishing a project. I put in it various areas of the house and admire it as I walk by! Am I weird? lol


your quilt is beautiful, love how it turned out!!
ReplyDeleteYour Great Granny quilt turned out fabulous! I love how you chose a color theme for each block. And it's all quilted and bound. I'm envious :)
ReplyDeleteOh, I just love this! So pretty. Really great work, Cynthia!
ReplyDeletecynthia.....i love it!!!!!!!.....now send me more!
ReplyDeletecynthia.....i love it & this comment was from your long lost friend..marianne!!
ReplyDelete