Showing posts with label sewing kit. Show all posts

Oct 2, 2023

Gifts

My oldest grandchild has been called to serve a two year mission in Sapporo Japan.  He is going to preach and teach the gospel of Jesus Christ, love the people and the culture and do as much service as he can.  I made him some gifts that I thought would be helpful. 

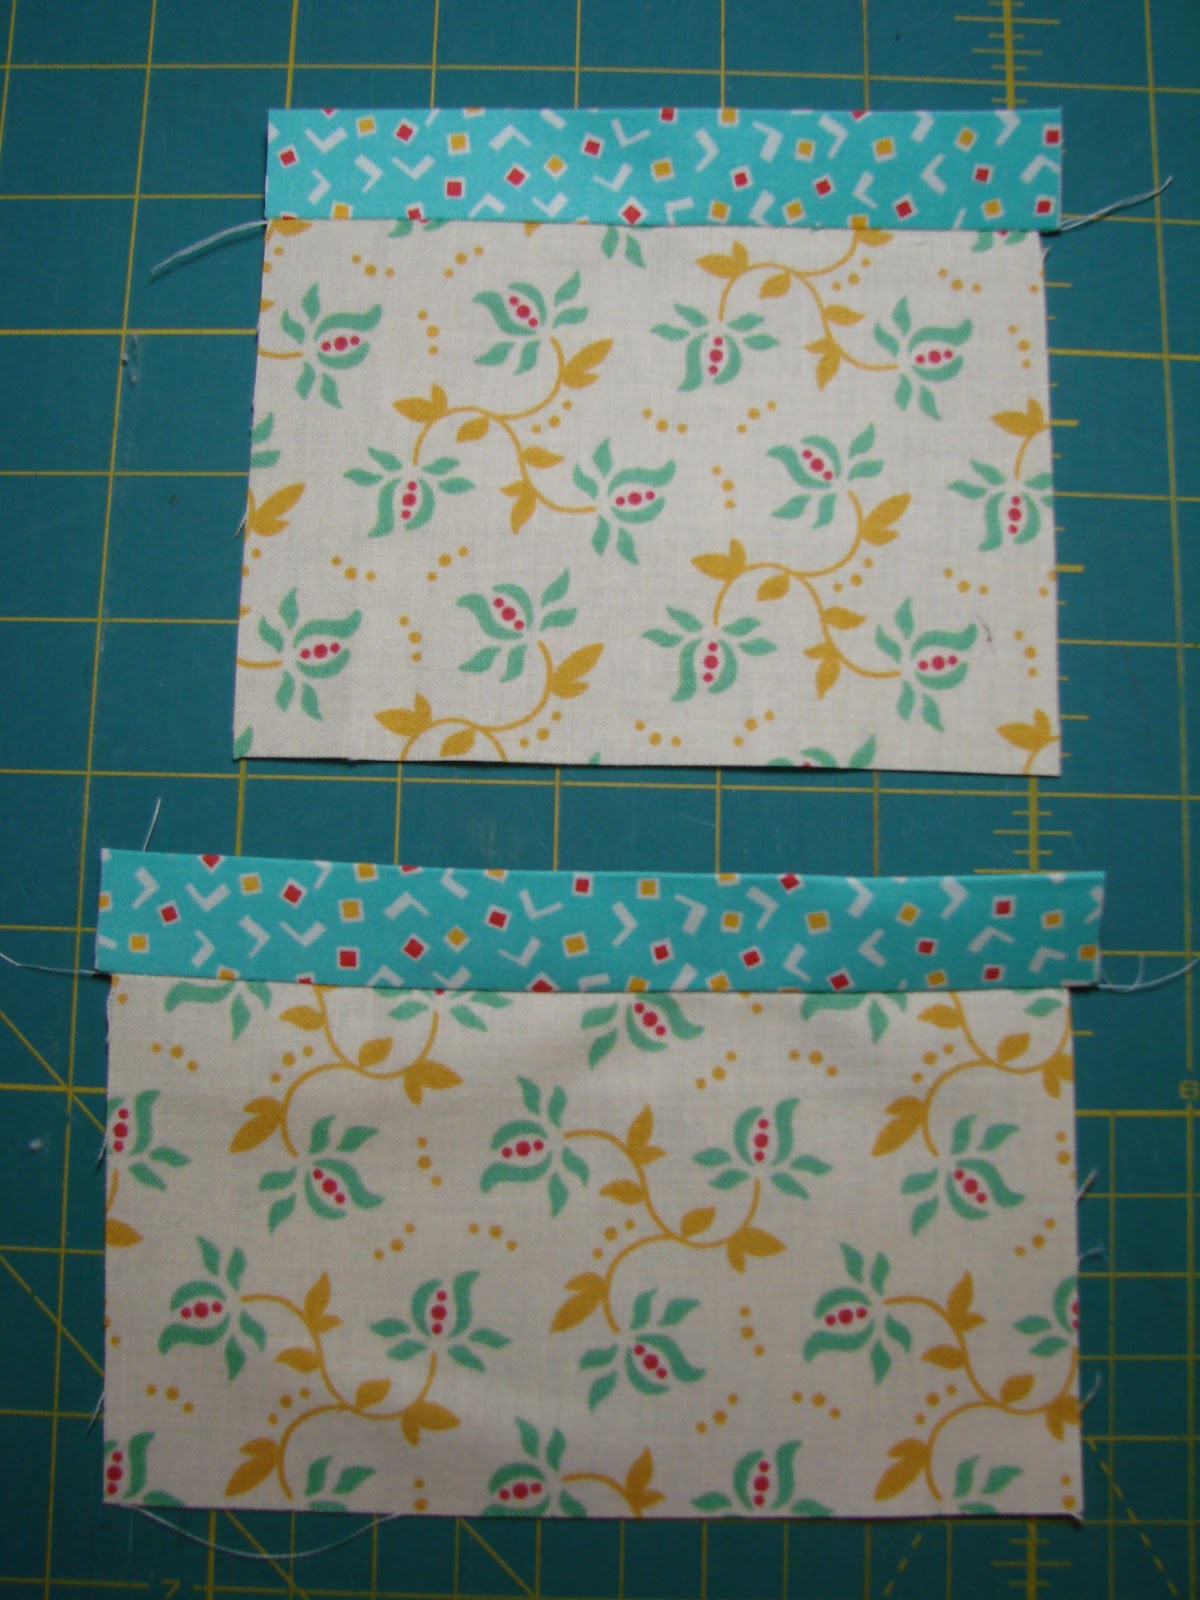
This is a Crosley pouch by Centerstreet quilts.  I chose this pattern because it is flat.  I handwrite almost 363 uplifting quotes, thoughts and scriptures and cut them into strips.  I slipped them into the pouch. The idea is that he can read one every two days and it will inspire him. He can share it with his companion, share it with his district or zone, decorate his wall with them, give it to someone or just throw them away. 


I also made him a sewing kit. I've made them for missionaries before, you can see them here, herehere and here. My son Sean said that the most important items to include in the sewing kit were extra white buttons for shirts and dark buttons for pants, thread and needle and safety pins.  I also included some iron on patches and of course scissors.

I also made Bridger (Elder Nielson) a monogram pencil pouch and some scripture covers made out of Japanese fabric.

I wanted to help Bridger and hope that he doesn't forget me after two years!  I know he won't, but you know what I mean ❤️


Thanks for following me, see you next week :)

Nov 15, 2013

Travel Sewing Kit and tutorial


I love this travel sewing kit tutorial at Lots of Pink Here.
This is the fourth one I've made.
I made a travel sewing kit for Maggie, you can see it here.
I also made an Eagle Scout one for my son Sean, here it is.
The first one I ever made was a tutorial and a giveaway, here.
I made this particular sewing kit for a young man who will be serving a two year mission for The Church of Jesus Christ of Latter-day Saints, in Tokyo, Japan.

I don't know if you can zoom in on the fabric, but it tells you how to iron a shirt, in steps 1 to 12.  
I think it is so cute, and perfect for a missionary!


I was able to find some Japanese script fabric, perfect!


I wanted to keep the color scheme of the Japanese flag.


These are all the items I included in the kit, things that a missionary might need in a pant or shirt malfunction!
From left to right, white and black thread wrapped around a card, blue and black iron on patches, 2 hair elastics (may be needed if you have McGiver instincts), a tape measure/leveler, folding scissors, needles, pins and safety pins, iron on silver reflective tape and iron on heat bond, to mend pant hems.
I forgot to include some little white shirt buttons, so I will add them in a teeny ziplock to go in the same pocket as the thread.


Now all the little gadgets are tucked away in their own pockets.


It's a tri fold sewing kit, and is very lightweight.
Now, the missionary is all set for a fashion emergency :)


post signature

Jun 3, 2013

Sewing Kit Tutorial

I really love this sewing kit, I've made it twice before.
The first one I made for my son to take with him to Brazil, here it is.
The second one I made for a giveaway, you can see it here.
The original tutorial was done by Lots of Pink and you can see it on my Pinterest board of Random Tutorials :)
I made this sewing kit for Maggie, who is also going to Brazil.
I love Maggie, she's wonderful and I wanted to make something for her to take, a little piece of me :)


I hope you have enjoyed my tutorial today.
The exact measurements can be found on the link to the second sewing kit I made as a giveaway, or the link to "lots of pink".
post signature

Jan 11, 2013

Needlebook Tutorial

Before I begin this needlebook post, I need to say something to any of you who might be looking for my "paperdoll quilt" post.
Due to Christmas and a new grandbaby and life in general, I am not able to finish the paperdoll quilt at this time.  I will dedicate Friday's post to that quilt asap.  

I saw this sweet little needlebook on Nana Company quite a while back and pinned it to my "Want to Make It" board on Pinterest.  
I love every single thing that Amy creates :)
I finally got around to making one and I had so much fun making it!
The tutorial is here.

I loved choosing vintage fabrics and cute little embellishments for this project.  I made it as a gift for a young woman who loves ♥ Anthropologie.  I tried to make it as interesting and unique as possible.  Notice  all the details?


I added a double pocket on the back side of my front cover.
I made it more of a sewing kit that a needle book.


I originally had silver safety pins here, but I found some pink ones at JoAnn's and used them instead.


This is my favorite page!
Leaf pins, velvet rick rack with little x's embroidered on it.
Sparkly buttons with two trims of ribbon.  
I like the swatch of linen that the needles are pinned to.


I added another pocket to the back cover.


I chose each little square with great care!


The back cover looks cuter with some hand stitching.


The needlebook is smaller than it looks.  It is only about 3"X4".
I was able to squeeze all of these supplies into the needlebook/sewing kit.
I loved making this little needlebook and would like to make some more for my daughters  and daughters in law, all 5 of them!
Oh, and one for me too!


post signature

Mar 27, 2012

Sewing kit tutorial and giveaway!!!

This is the cute "girlie" sewing kit that I made for you, to be won in a giveaway!


As promised, I will give you a tutorial for the sewing kit.
Cut your pieces as follows:
  • exterior:  15" X 6"
  • cotton batting:  16" X 7"
  • inside panel pieces:  cut (2)  5 l/4" X 6" and (1) 5 l/2" X 6"
  • pockets:  cut (1) 5 l/4" X 4" and (1) 3 l/2" X 6"
  • scissor case:  (my scissors measure 4 l/2" long and 2" wide at the widest part of the handle)  The bottom of my scissors holder is l" wide plus l/4" on each side, equaling l l/2".  Make your triangle this size plus l/4" all the way around.  (reference to my polkadot fabric for the shape to draw your scissors holder)


  • binding (turquoise):  cut (2) strips 2" X WOF(width of fabric)
  • closure strap and thread strap (yellow):  
       cut (1) strip  1 1/2" X WOF 
  • needle book:  cut your wool felt piece 4 l/2" X 2 3/4" 
  • small piece of velcro:  l/2" X 3.8"
DIRECTIONS:
Quilt your exterior piece to the cotton batting.  Quilt as desired.  I quilted mine straight lines approximately l/2" apart.  You could quilt it in diagonal lines, or use stipple quilting, swirly lines all around.  To me it was really easy just to quilt straight lines.  I didn't adjust my machine at all to quilt, just adjusted the stitch to be slightly longer than normal to compensate for stitching through the thickness.


This is what my quilting looked like when I was finished.


Sew the binding to the two pockets, raw edges together.  Sew on the long edges and use a l/4" seam.


Fold the binding up and press so that you have a nice edge and can see clearly where the pocket and binding are joined.


   Fold the binding toward the back of the pocket, making sure that you fold the edge past the stitching line that you made when you sewed on the binding.  Pin well and sew "in the ditch" on the front.
Pictured is the binding and the stitching from the back.  Notice that the seam is caught in the stitching.


Place your bound pockets on the two side panel pieces lining up the bottom edges.  Make sure that you have the two panels that measure 5 l/4" X 6" (the middle panel is slightly larger, make sure you don't sew a pocket on to this panel).  Pin and baste the pockets onto the panels.


Now we will join the three panels together.  Sew them right sides together using a l/4" seam allowance and then press the seams open.  It should now look like this.


I divided the right pocket into two sections by marking the middle (top and bottom) and sewing down the middle from the top of the binding to the raw edge.  You can barely see the line that I stitched, but it's there!


To make the scissors case, iron the wide edge over l/4".  Then do the same to each side and then the bottom.  Finally, fold the top over l/4" again.  Topstitch the top edge of the scissors case where you folded over twice.


Fold your piece of wool felt in half and press so that you have a clear crease for a stitch line.  Now you are going to pin both the needle book (wool felt) and the scissors case onto the center panel. The scissors case needs to be l/2" from the top and l/8" from the left seam.  Place the folded edge of the needle book l/4" from the left seam and l/2" from the bottom edge.  
Sew down the crease line of the needle book and very close to the edge of the three sides of the scissors holder.  


 Press each end in l/4" and then refold the whole strip back up.
 DO NOT sew it yet.  
Cut 6 l/4" off this strip to make the thread strap(goes in the middle).
Only one short end needs to be folded in on the short strap but you need to fold in both short edges of the long piece so that all of the  edges will be encased.
Sew down each of the long sides and the ends to close up the straps.


Now sew down each of the long sides and the ends to close up the straps.


I'm sorry that this photo is so blurry.....
Pull apart your tiny piece of velcro and sew  the fuzzy piece onto the finished end of the short strap.  This is your thread holder.


Place the loopy piece of the velcro and place it along the left seam of the interior piece.  It needs to be 3/8" from the bottom edge.....( I accidentally sewed mine on the top edge.  When I realized my mistake, my kit was already sewn together.  I don't think it makes a huge difference, so I left it!


Sew the strap to the bottom (or top!) edge, keeping enough slack to hold two spools of skinny Gutterman spools of thread.  

Trim the exterior piece, by placing your ruler on top of the fabric and trimming off the excess cotton batting, flush to the edges.


Now it's time to attach the exterior and the interior along the seam lines on the interior.  Place your exterior piece face down on your table and then place your interior piece face up. 


Align the edges so that your corners and edges are all matched.
First, stitch down the two long seam lines, attaching the exterior and interior pieces together.  


Attach the binding on the outside, all the way around.  


Handsew the binding on the inside, just as you would a quilt.


Almost finished!!!


All you have left to sew is the tie.  Take your piece and mark 12" from one finished end.  Take your sewing kit and place it face up on your table.  Find the stitch line on the exterior that corresponds to the left seam line on the inside.  
Stitch your tie to the exterior but you want the stitches to be disguised by the seam on the inside.  
Find that seam on the exterior and mark the middle.  It will be 3" from the top and bottom and approximately 5" from the right edge when the piece is laying exterior side up on the table.  Match the two marks, the one on your tie and the one on your strap.  
Pin in place and sew on the inside to make sure the stitches are masked by the seam.
Now you are finished!!!


I promised a giveaway.....
To win this cute "girlie" sewing kit, all you have to do is "join this site" and become a Follower.  The place to join is located on the right side of this blog, underneath my button.  Then, leave me a comment.  I love comments ♥  If you have already a follower, then just tell me in your comment.
I will use the "random number generator" to choose a winner.
The comments close this Thursday, March 29 at 7:00 p.m. Pacific time.  I will announce the winner on Friday!
I sure hope you win!!!!
post signature