Showing posts with label design board tutorial. Show all posts

Jan 26, 2015

AYOS and a little bit more - Kaleidoscope mini tutorial


Our challenge for the month of January, was to follow this tutorial by My Rainboots are Red, for a Kaleidoscope mini quilt.
I bought the Kaleidoscope smart plate ruler from Sharon Sebrow.
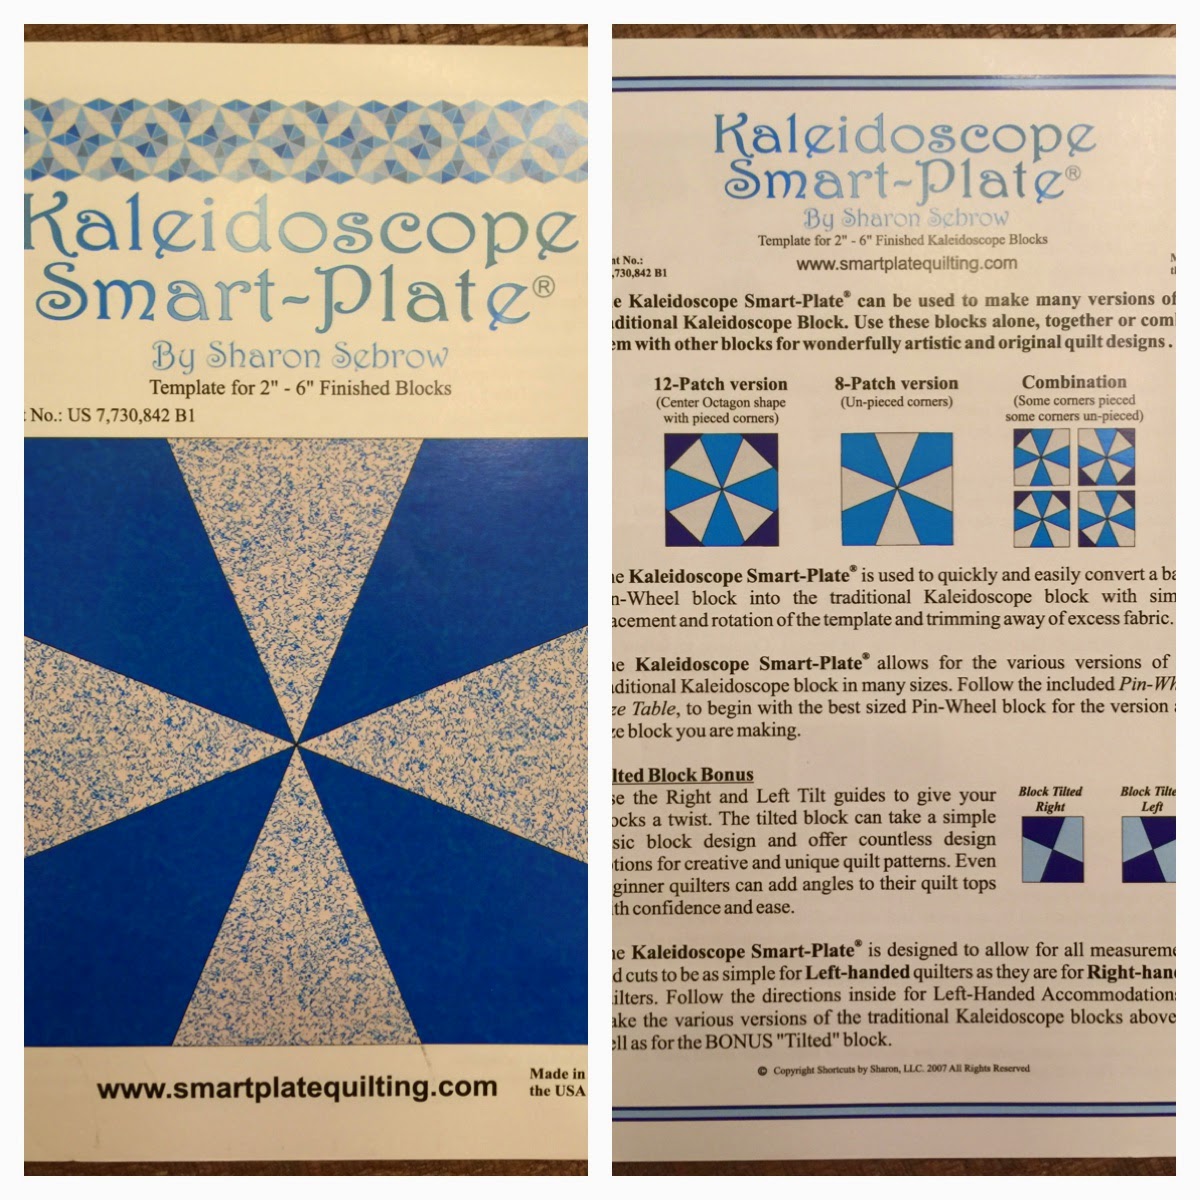
Sharon sent me a bonus quilt, which was really nice!


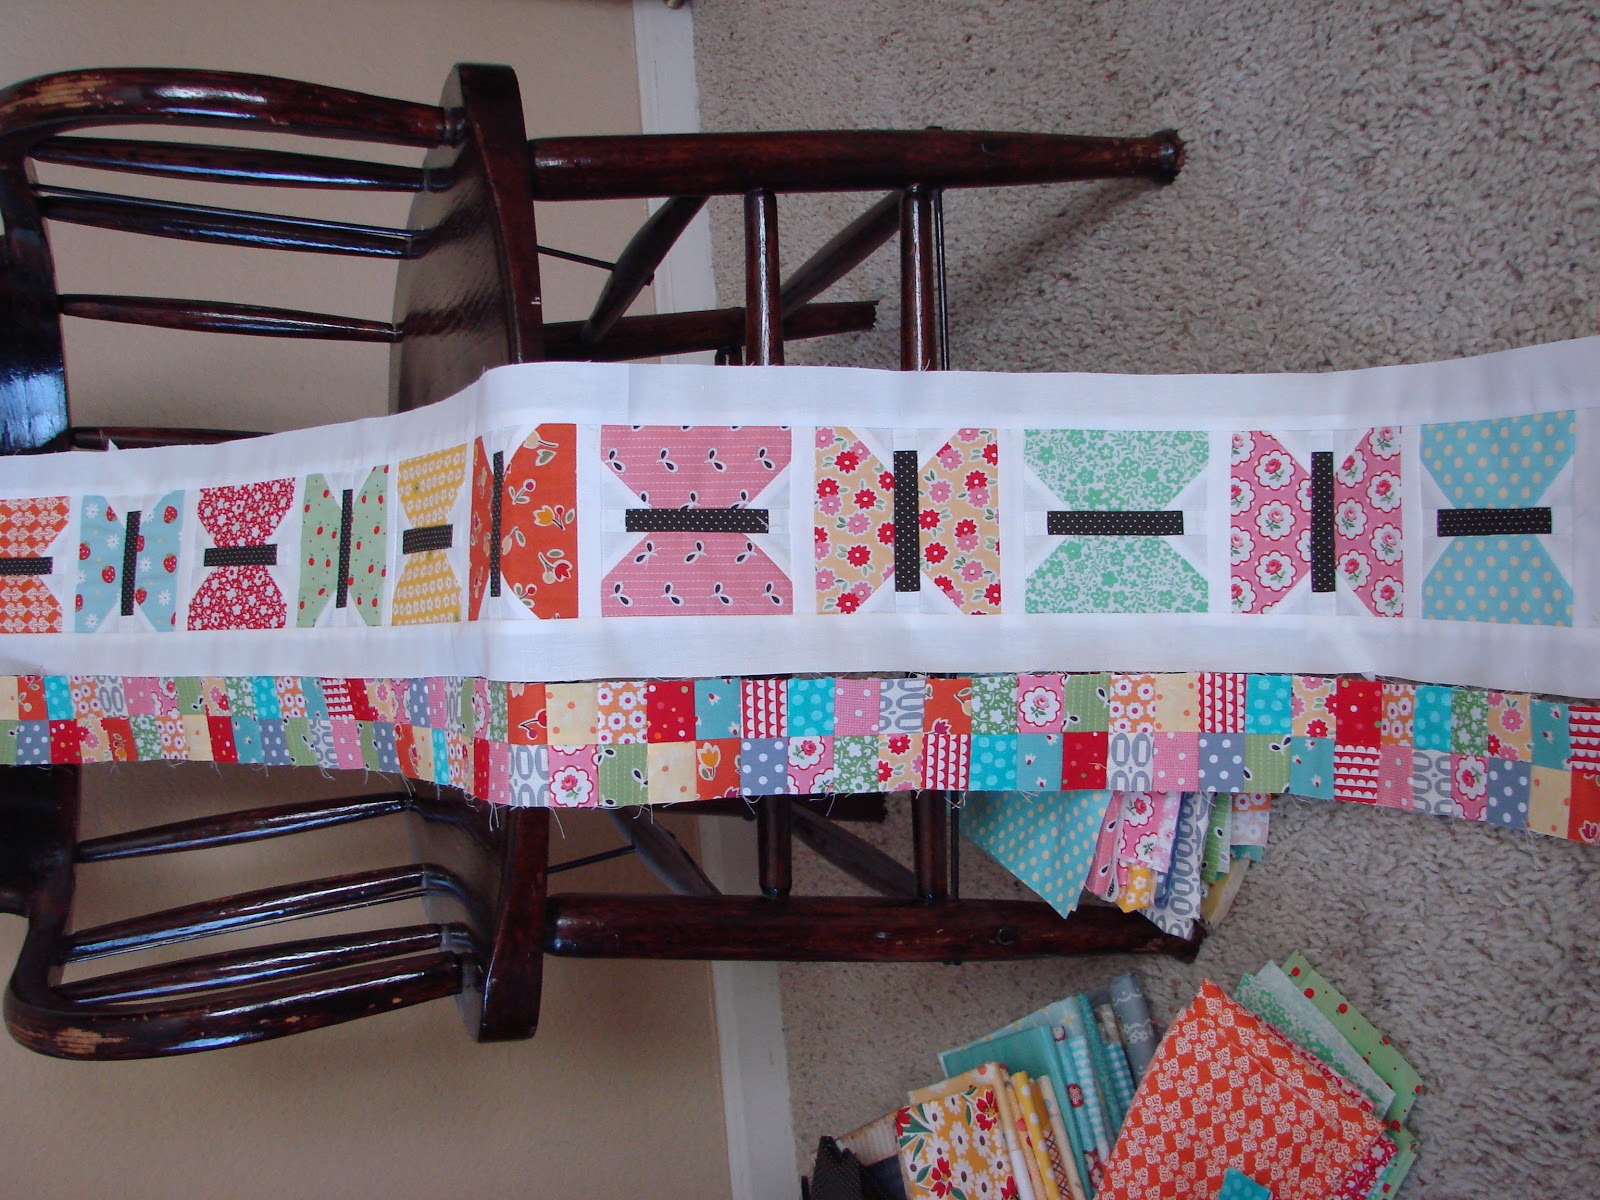
I made lots of half square triangles with my pretty scrappy fabric.
Do you notice my design board?
I use them all the time!
Lori Holt has a tutorial on her blog, Bee in my Bonnet.
You can make them in any size you want :)


This is what the ruler looks like. (ignore my legs...)


I cut and cut and cut...


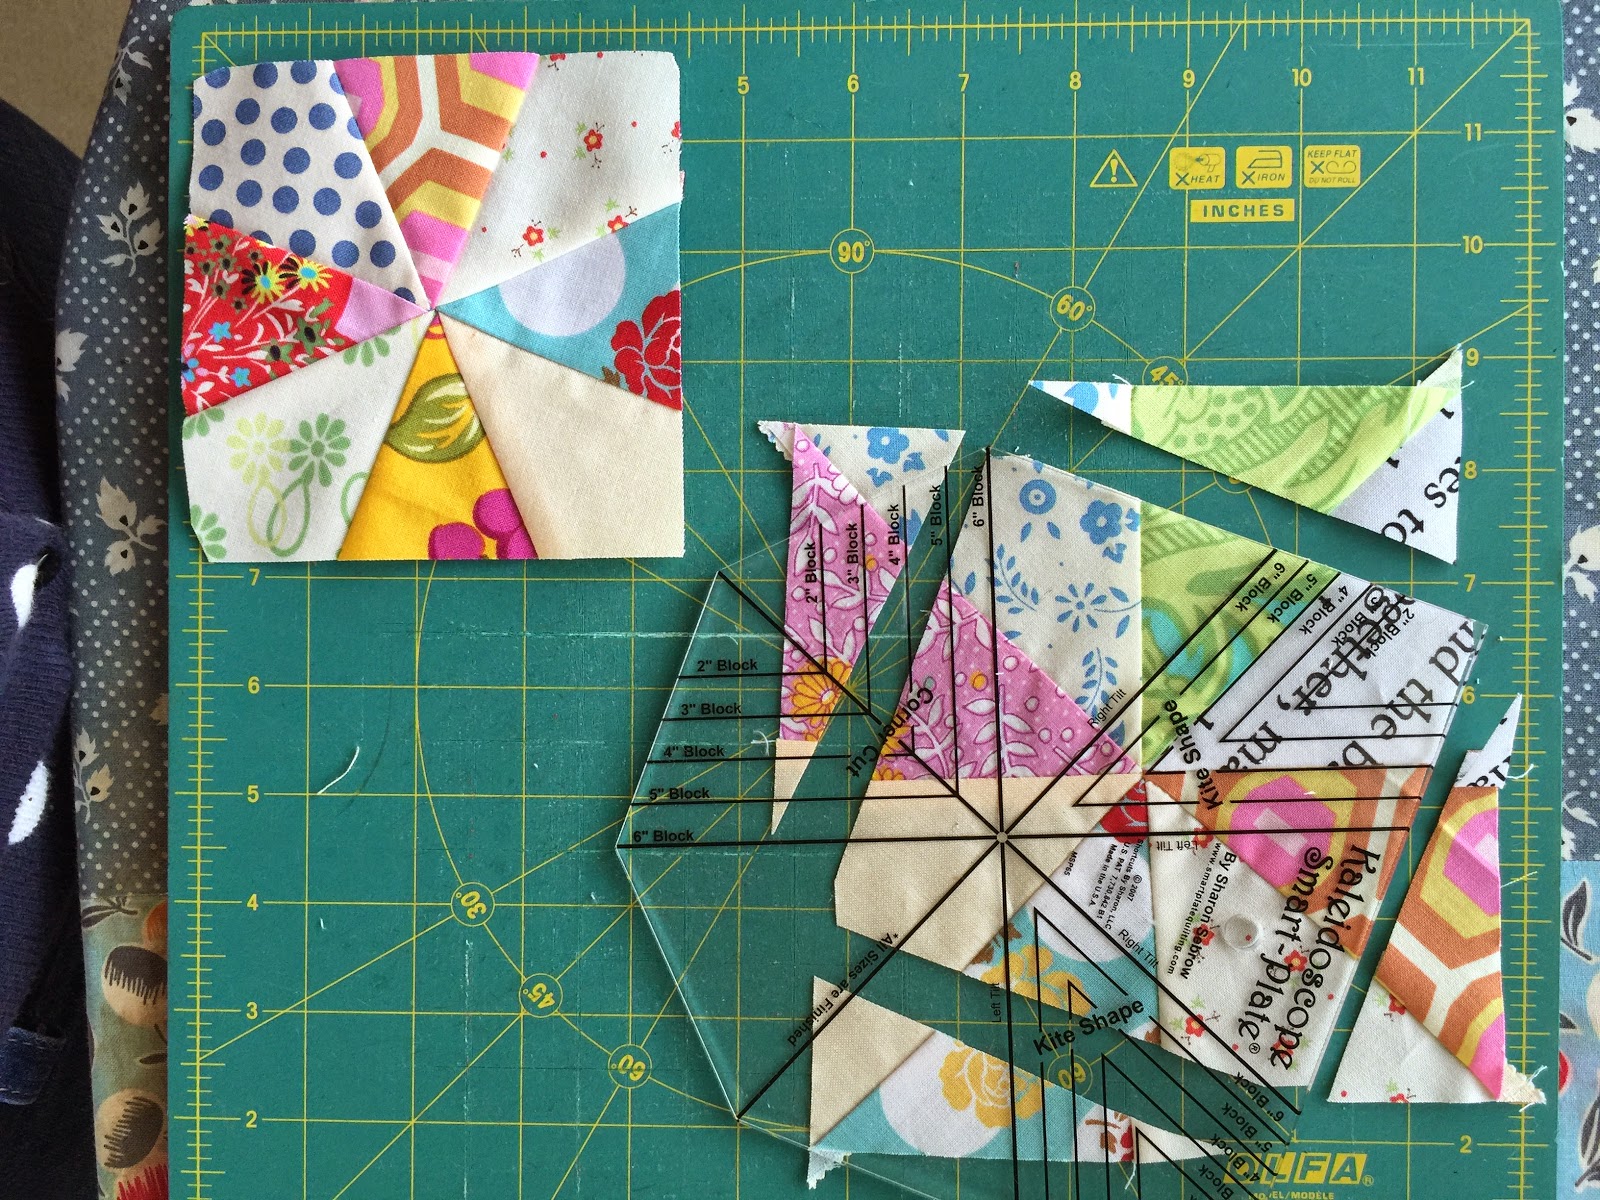
 One of my blocks was imperfect, but I kept it.
I thought it might add some extra interest :)


I don't know if this is normal or not, but my corners were all cropped a little bit.


I love this cute little block!
I sewed a triangle to each of the 4 corners to form a square.
Forgot to take a photo of that step...sorry.


Yay, my squares are all placed and ready to sew together!


I enjoyed machine quilting with my walking foot.
I realize that some of my low volume fabrics weren't pale enough to stand out as much as they should.


The mini measures approximately 21" square.
I used it to decorate the table during my lesson at church, and some of the young women noticed it!


I backed it with a Japanese hexagon print, and the binding is a bright pink that I pulled from one of the scraps.
The tutorial was excellent, I think I would have been lost without all the wonderful photos.
I really enjoyed this technique and am anxious to make something else using it :)

post signature

Oct 17, 2012

Bee in my Bonnet Row Along


I've been working on Lori's Row Along, and having a great time doing it!  I showcased the fabrics I chose for the quilt and Row 1 here.  The butterflies are Row 2.  For me, the best part of making a quilt is choosing the fabric :)


I know this photo is sideways, but that is how the butterfly row will be sewn into the quilt.  The fabric for each butterfly was chosen with great care!


This is rows 1 and 2 together.  Lori is designing the quilt as she goes although I know she has the large picture in her head.  Even though the rows are numbered, we don't really know what order they will be in the quilt.


This is row 3, zig zags.


This is Rows 1, 2 and 3 together.
Peekaboo to my fabric hording.....er, stash! LOL


This is Row 4, don't you just love the apples?  I made 2 large design boards and really love them!  They are from Lori's tutorial.


McIntosh, Gala, Fuji, Granny Smith and Pink Lady apples.  Isn't the apple core cute?  I also took great care in choosing the greens for the leaves.  Each of the leaves is a different fabric.


Golden Delicious and more varieties of red apples.


Rows 1, 2, 3, and 4.  This is going to be the cutest quilt!  My husband is going to say, "What are you going to do with this quilt?"
My reply, "I don't know, enjoy it, admire it, perhaps give it away?"
What would you say to your husband as I'm sure he wonders what you are going to do with all of your quilts too!!!


post signature