Sep 5, 2014

Table runner


When I was visiting my son and his family, I noticed that my grand daughter could use a table runner on her bedroom dresser which was white and needed some color.
I have the cutest pattern made out of a charm pack, or 5" squares.
Every other charm square is cut in half to create a piece 2 l/2" X 5".
Pink is my grand daughter Neo's favorite color, so I chose the "prettiest pinks" for this project.


My little 3 l/2 year old darling loves princesses, so I added this fabric onto each end along with some jumbo rick rack.


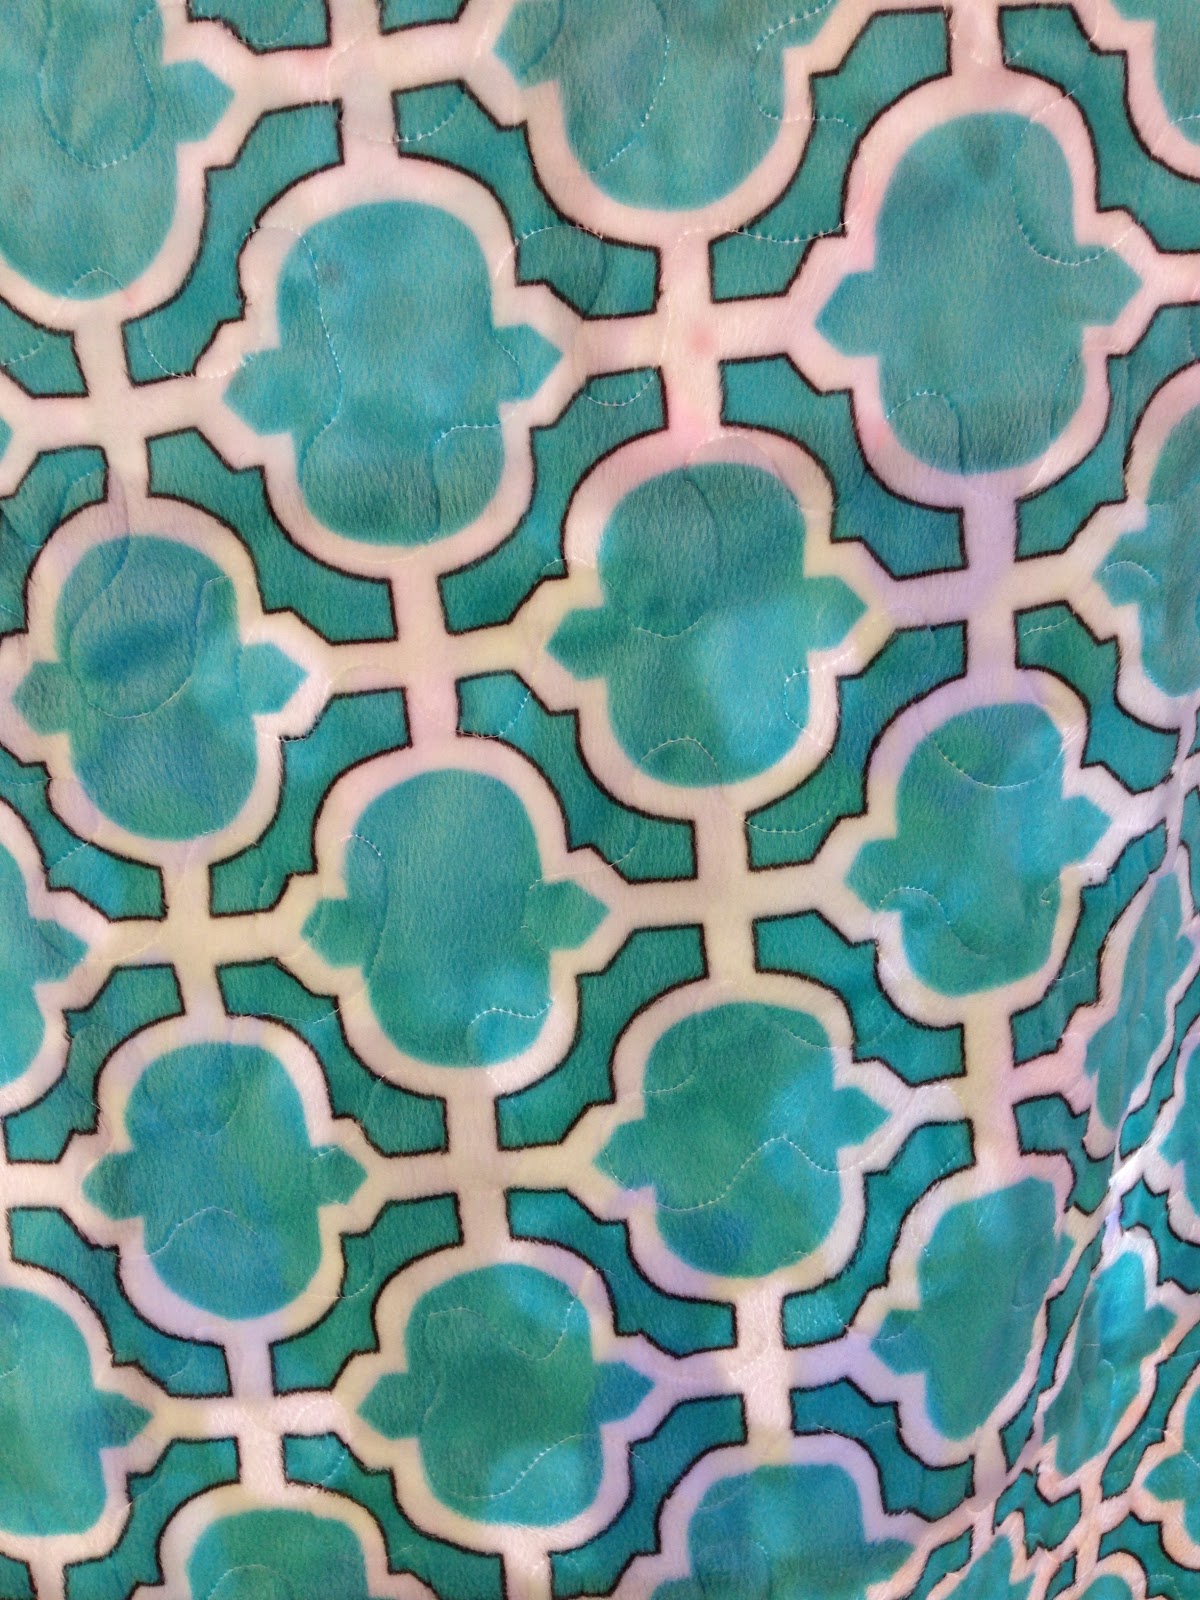
I sashed the charms with Kona white and began quilting.


I straight stitch quilted l/4" inside of each square and rectangle.
I used a wavy stitch in the middle of the white sashing.


Once I finished quilting, I used Clover clips and hand stitched the binding, one of my favorite part of the quilting process.
I enjoy sitting and hand stitching.


My table runner is finished, yay!!!


This binding was left over from my paper doll quilt that I finished last summer.


This is the back of the table runner that I pieced.
On each end is fabric with princess dresses and crowns.
The table runner is reversible for a different look.


 All tied up with a bow and sent in the mail :)
Now onto another project I promised another grand daughter.

post signature

Sep 3, 2014

Handmade Birthday Club 2014


I belong to the Handmade Birthday Club.
I saw it advertised on Instagram and joined right away because it sounded like so much fun!
There are 12 people in each group, and every month, you make something handmade for the birthday person.
I received this gift for my birthday.
Jennifer made me the most beautiful clutch, and enclosed delicious chocolates, some cute notecards and colorful gel pens!
It was so exciting to get her parcel in the mail :)


A pretty clutch like this has been on my "to do" list.


The pouch is nice and wide, and it's padded.


The lining is so pretty and so is the workmanship!
I have to think of something special to use this pretty clutch for.
The clutch was designed by Diane Stanley, you might be able to find the pattern on her blog, here.

post signature

Sep 1, 2014

Coin Quilt


My daughter Lindsay made this pretty coin quilt for her best friend and I offered to quilt it for her.
I laid it on the floor and pinned it before I quilted it.


The light on my machine is really bright!


Since the quilt is "scrappy", I thought the binding would look pretty scrappy as well.


I think the finished quilt looks really cozy :)


 Here's a closeup of all the pretty scrappy fabrics.
Do you recognize any that you have in your stash?
As I sewed, some of the fabrics took me back to the time when my daughter and I went to quilt shops together.
I quilted l/4" inside each side of the vertical sashing.
I quilted a wavy stitch down the center and across each of the horizontal rectangles.


This is my favorite place to photograph my finished quilts, on the tree in our backyard.


I love the back, and Lindsay put some coins at the bottom too.


 The quilt's in the mail, Lindsay will be excited to see it :)

post signature

Aug 29, 2014

Layer Cake Lemonade Quilt


Layer Cake Lemonade Quilt is a free pattern from Fat Quarter Shop, you can find the link and info here.
Here's my finished quilt!


I used a really soft minky for the back, and found it at fabric.com.


I love the geometric pattern, and you can see my stipple quilting.


Outdoors is a great place to photograph my quilts, the light is great!
I only have the quilt top and the minky back, there is no batting.
This makes for a very supple quilt, and the minky still adds a lot of warmth.


I tried to be creative and lay on my back to take this photo.
Unfortunately, I found little bugs crawling on me afterwards!


I made my quilt from Lori Holt's Millie's Closet.
My mother in law is a vintage type of girl, so I think she'll really like it!


All rolled up and tied with a bow, ready to mail.


I had to show you this box, the words are so fun!!!

post signature


Aug 27, 2014

Travel Pillows


This is such a cute little pillow, the size is 12" X 16".
This can be a little pillow to travel with, to decorate your bed, to use as a doll pillow or even a little dog pillow :)
I use mine to put behind my lower back on long car trips, and also for long flights.
I have a tutorial I made a while back, with all the measurements, and I have a boy version without a gathered ruffle.
You can find my travel pillow tutorial here.
I made this pillow out of Sarah Jane's Wee Wander collection.
I wish I had bought this line, I only have a couple of fat quarters.


This pillow is from Sarah Jane's Let's Pretend fabric line.
Little crowns, aren't they cute?
The ruffle is from Sarah Jane's Children at Play fabric line.


This little pillow was made from a Japanese print.
It matches a quilted wall hanging I made, you can see it here.


I love all the little people and animals and strawberries and details.
The ruffle is from Lori Holt's Gracie Girl fabric line.


These travel pillows are so much fun to make!
You can see more pillows I've made, here, here, and here :)

post signature


Aug 25, 2014

Sweet and Simple Table Runner


Welcome to my Scrappy Summer Sew Along!
It is being hosted by Lori Holt at Bee in my Bonnet.
I posted about making this table runner here, in July.
The part finally arrived for my sewing machine and I'm able to use it again!
I quilted the table runner with my walking foot and added a scrappy binding.


I save all of my leftover bindings, they are perfect for a scrappy look.


Voila, it's finished, I'll be mailing it to my daughter in law tomorrow.
I'm going to ask her to take a photo of what it looks like on her table so I can share it with you.


I backed the table runner with a "happy" fabric to make it reversible.


The weather is so warm and sunny, I had to take an outdoor shot.


The table runner is fluttering gently in the soft, Delta breeze.

post signature

Aug 22, 2014

Patchwork Please!


 I made 2 little Triangle Patchwork Box Pouches from this book by Ayumi, you can find her blog here.


Sorry for the yellowish photo, I took it at night.
I auditioned all of my color combos to make sure they looked great together.


I made this box pouch once before and I paper pieced the triangles.
You can see my tutorial here.
 This time I cut out triangles and sewed them all together by chain stitching.
I should have watched my own tutorial!
I don't paper piece very often and always have to refresh my memory before attempting a new paper piecing project.
The points are beautiful and crisp with paper piecing and I can't always guarantee perfect points otherwise.
I know some people who can, but I'm not 100% there.


Sewing the zipper was soooooo easy!
I just topstitched them on.
See the little twill tape on each end?
Do you ever shop at Anthropologie, one of my favorite stores?
Those ribbons are the handles from their shopping bags, I always save them :)


Ayumi gives you extra fabric in the measurements, so I trimmed mine off and they are perfect!
The whole bag is lined with quilt batting which gives the bag great body and sizing.


So cute!!!
Colorful goodness :)


The lining looks a little large in the photo, but it actually fits perfectly.


Even the sides are done in patchwork.
I love the red geometric fabric, but I don't remember the name of it.
I bought 5 yards on sale once, used it for a quilt back and have been using scraps of it ever since.
I'll be sad when it's all gone.


Squeel!!!  The bottoms are in patchwork too!


Each of the sides of the box pouch have different patchwork.


These pouches are a little tricky to make the first time, but after completing one, the second one was easier.


I'm going to fill one of these bags with goodies and give it for a gift to a quilty friend.


The other bag will go to a friend on her birthday.
I hope she likes it :)

post signature