Showing posts sorted by date for query needle book. Sort by relevance Show all posts

Jan 13, 2014

Lined Fabric Basket Tutorial


I love scraps of fabric and I love fabric baskets.
I made a pink scrappy fabric basket, and am sharing the tutorial with you.
I used the "quilt as you go" method.
I found the tutorial for that on Pinterest, here is the link.
I'm plannig on making Amy Butler's Weekender Travel Bag using this method of quilting :)
Thank you "Oh, Fransson!"

I cut a piece of muslin (or any other fabric you would like for your backing - it won't show) and a piece of warm and natural batting, 13" X 17".
I added scraps of fabric, following the tutorial above, for "quilting as you go".  
Here's my completed piece of quilting.


I trimmed the above piece and subcut it into 4 rectangles, measuring 6" X 8" each.


I cut another piece of muslin and warm and natural batting, 
8 l/2" X 8 l/2".
I quilted it and trimmed it to an 8" square.
This square will be the base of the basket.


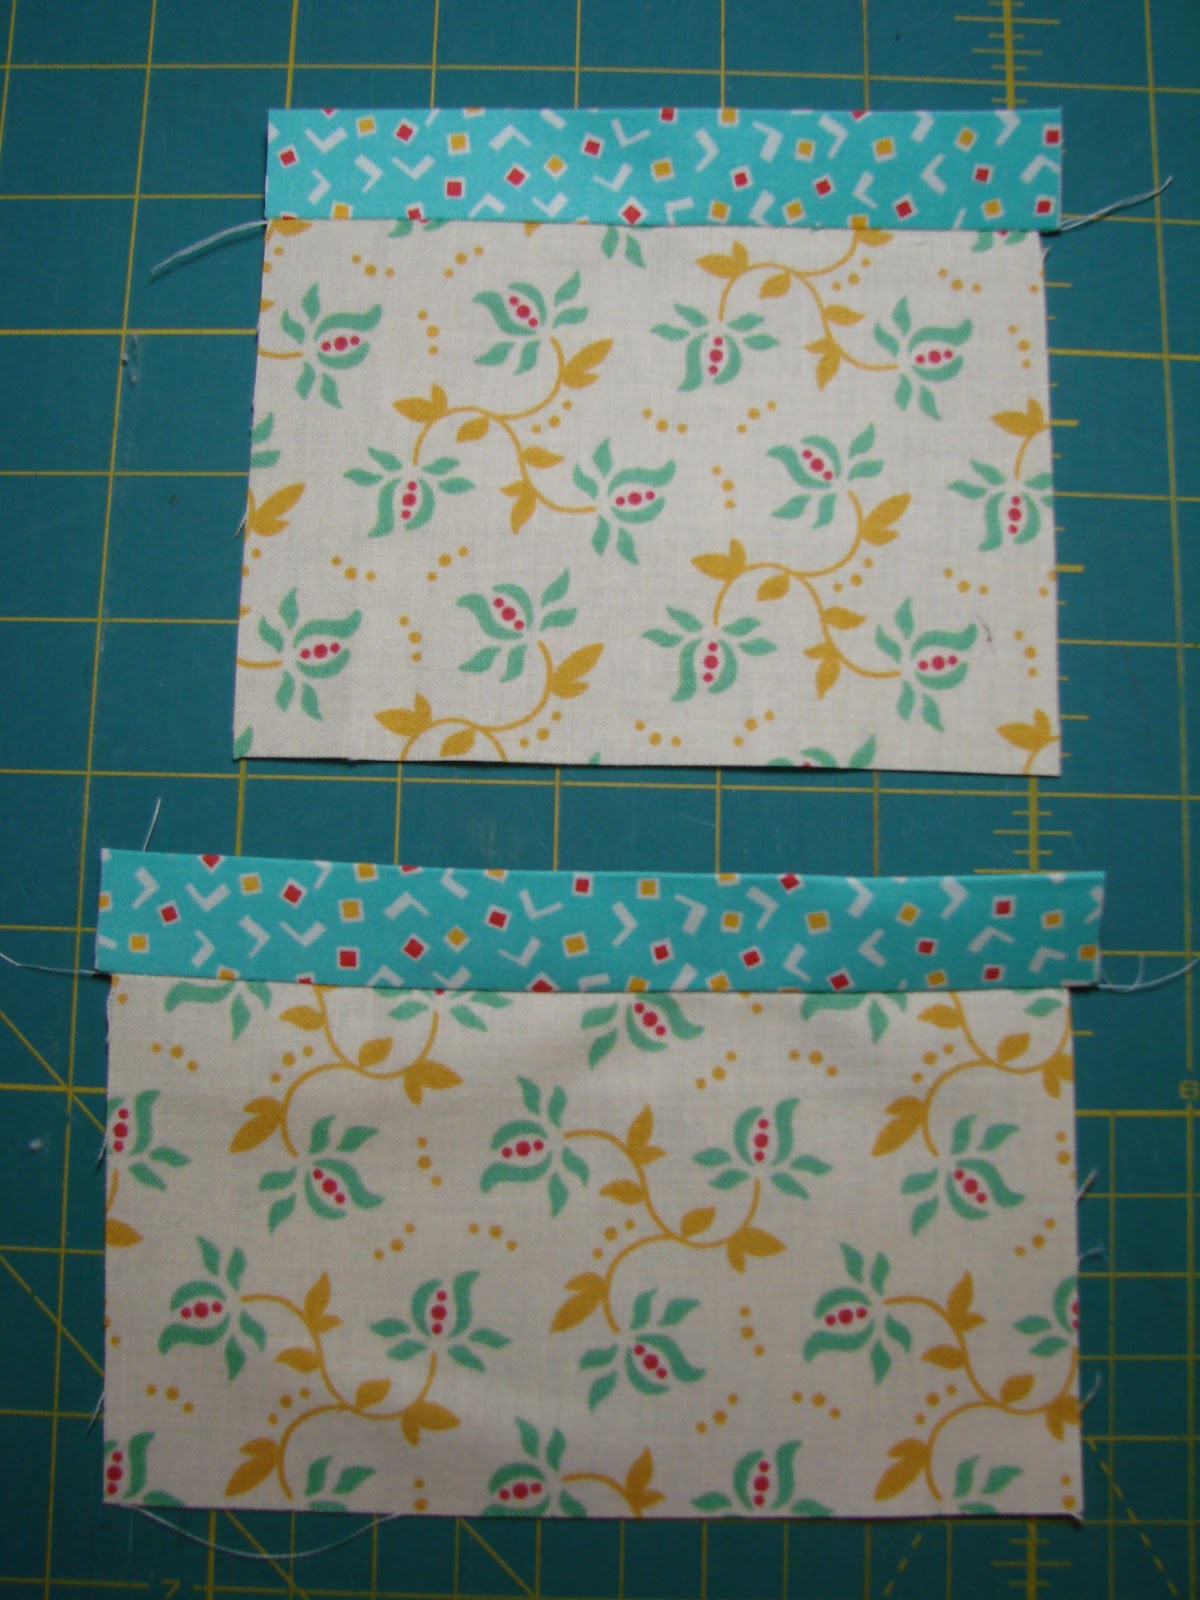
Next, sew all four rectangles together, using a l/4" seam.
You will have a square of pink quilted scraps :)


Sew the base (8" X 8") to the square.


Now cut your lining, an 8" square, and 4 rectangles, 6" X 8".  
I also cut Pellon interfacing in each of these measurements and ironed them to the wrong side of the lining.


I used this Pellon, which adds lots of body to the basket.


I sewed the rectangle lining pieces together and formed a square.


I sewed the 8" X 8" base to the square, making sure to leave a 6" opening to allow for turning.


I left the 6" opening in the middle of the seam.


Keep the lining with the right side in the middle, the wrong side out.
Place the quilted piece inside the lining piece so the right sides are together.
Line up the edges of the basket so they are even, and pin.
Sew around the top of the basket, using a l/4" seam.


Remove the pins and turn right side out through the opening in the lining.
Press the top edge, and top stitch on the outside.


Now you just have to close the opening in the lining.
You can pin it like this and slip stitch the opening closed by hand with a needle and thread.


Another option is to pull the lining away from the quilted basket and sew the opening closed by machine.
I chose this method :)


My completed basket!
I love it!
You can really make it any size you want.
This basket is square, but you could make a rectangle one too.
I added some pink fat quarters to my pink fabric basket.


I took a photo of my basket from every side so you can see the different patchwork.


You don't have to use your basket for fat quarters, you can use it for all of your pink scraps.


I have a lot of pink fabric!!!
 Could it be because I have 7, soon to be 8 grand daughters?
Maybe I just love the color pink :)


This fabric basket was inspired from the quilt book 
"Sunday Morning Quilts".
They suggest making a basket in each of the colors of your scraps.
Wouldn't that be fun?
This book would be a great addition to your library,
you can buy it here.

post signature

Jul 6, 2013

A Lucky Winner!

I made this little needle book for a give away.

Drum roll please................


The lucky winner is..............Vanessa!

Thank you everyone for entering the give away and following my blog :)

It's so nice to know that people are interested in what I do!

Jul 1, 2013

Another Giveaway for You ♥

I have 3000 followers on Pinterest and I want to celebrate with you!
I made this cute little needle book that I saw on Amy's blog, Nana Company, and of course pinned it to my "Want to Make It" board on Pinterest.


There are four little felt pages in the book, these are the only two that are decorated :)


The back is sewn in patchwork, with 1" finished squares.
I quilted around the squares with red embroidery floss.


For a chance to win this little (4 l/2" X 4") needle book,
sign up to follow my blog (on the right) and tell me you did in a comment.
For a second chance to win, LIKE my Facebook page here, and leave me a comment telling me that you did.
For a third chance to win, you can follow me on Instagram,(dreamquiltcreate) and leave me a comment telling me that you did.

Good luck, I will announce the winner on Monday, July 8!

post signature

Jan 11, 2013

Needlebook Tutorial

Before I begin this needlebook post, I need to say something to any of you who might be looking for my "paperdoll quilt" post.
Due to Christmas and a new grandbaby and life in general, I am not able to finish the paperdoll quilt at this time.  I will dedicate Friday's post to that quilt asap.  

I saw this sweet little needlebook on Nana Company quite a while back and pinned it to my "Want to Make It" board on Pinterest.  
I love every single thing that Amy creates :)
I finally got around to making one and I had so much fun making it!
The tutorial is here.

I loved choosing vintage fabrics and cute little embellishments for this project.  I made it as a gift for a young woman who loves ♥ Anthropologie.  I tried to make it as interesting and unique as possible.  Notice  all the details?


I added a double pocket on the back side of my front cover.
I made it more of a sewing kit that a needle book.


I originally had silver safety pins here, but I found some pink ones at JoAnn's and used them instead.


This is my favorite page!
Leaf pins, velvet rick rack with little x's embroidered on it.
Sparkly buttons with two trims of ribbon.  
I like the swatch of linen that the needles are pinned to.


I added another pocket to the back cover.


I chose each little square with great care!


The back cover looks cuter with some hand stitching.


The needlebook is smaller than it looks.  It is only about 3"X4".
I was able to squeeze all of these supplies into the needlebook/sewing kit.
I loved making this little needlebook and would like to make some more for my daughters  and daughters in law, all 5 of them!
Oh, and one for me too!


post signature

Mar 27, 2012

Sewing kit tutorial and giveaway!!!

This is the cute "girlie" sewing kit that I made for you, to be won in a giveaway!


As promised, I will give you a tutorial for the sewing kit.
Cut your pieces as follows:
  • exterior:  15" X 6"
  • cotton batting:  16" X 7"
  • inside panel pieces:  cut (2)  5 l/4" X 6" and (1) 5 l/2" X 6"
  • pockets:  cut (1) 5 l/4" X 4" and (1) 3 l/2" X 6"
  • scissor case:  (my scissors measure 4 l/2" long and 2" wide at the widest part of the handle)  The bottom of my scissors holder is l" wide plus l/4" on each side, equaling l l/2".  Make your triangle this size plus l/4" all the way around.  (reference to my polkadot fabric for the shape to draw your scissors holder)


  • binding (turquoise):  cut (2) strips 2" X WOF(width of fabric)
  • closure strap and thread strap (yellow):  
       cut (1) strip  1 1/2" X WOF 
  • needle book:  cut your wool felt piece 4 l/2" X 2 3/4" 
  • small piece of velcro:  l/2" X 3.8"
DIRECTIONS:
Quilt your exterior piece to the cotton batting.  Quilt as desired.  I quilted mine straight lines approximately l/2" apart.  You could quilt it in diagonal lines, or use stipple quilting, swirly lines all around.  To me it was really easy just to quilt straight lines.  I didn't adjust my machine at all to quilt, just adjusted the stitch to be slightly longer than normal to compensate for stitching through the thickness.


This is what my quilting looked like when I was finished.


Sew the binding to the two pockets, raw edges together.  Sew on the long edges and use a l/4" seam.


Fold the binding up and press so that you have a nice edge and can see clearly where the pocket and binding are joined.


   Fold the binding toward the back of the pocket, making sure that you fold the edge past the stitching line that you made when you sewed on the binding.  Pin well and sew "in the ditch" on the front.
Pictured is the binding and the stitching from the back.  Notice that the seam is caught in the stitching.


Place your bound pockets on the two side panel pieces lining up the bottom edges.  Make sure that you have the two panels that measure 5 l/4" X 6" (the middle panel is slightly larger, make sure you don't sew a pocket on to this panel).  Pin and baste the pockets onto the panels.


Now we will join the three panels together.  Sew them right sides together using a l/4" seam allowance and then press the seams open.  It should now look like this.


I divided the right pocket into two sections by marking the middle (top and bottom) and sewing down the middle from the top of the binding to the raw edge.  You can barely see the line that I stitched, but it's there!


To make the scissors case, iron the wide edge over l/4".  Then do the same to each side and then the bottom.  Finally, fold the top over l/4" again.  Topstitch the top edge of the scissors case where you folded over twice.


Fold your piece of wool felt in half and press so that you have a clear crease for a stitch line.  Now you are going to pin both the needle book (wool felt) and the scissors case onto the center panel. The scissors case needs to be l/2" from the top and l/8" from the left seam.  Place the folded edge of the needle book l/4" from the left seam and l/2" from the bottom edge.  
Sew down the crease line of the needle book and very close to the edge of the three sides of the scissors holder.  


 Press each end in l/4" and then refold the whole strip back up.
 DO NOT sew it yet.  
Cut 6 l/4" off this strip to make the thread strap(goes in the middle).
Only one short end needs to be folded in on the short strap but you need to fold in both short edges of the long piece so that all of the  edges will be encased.
Sew down each of the long sides and the ends to close up the straps.


Now sew down each of the long sides and the ends to close up the straps.


I'm sorry that this photo is so blurry.....
Pull apart your tiny piece of velcro and sew  the fuzzy piece onto the finished end of the short strap.  This is your thread holder.


Place the loopy piece of the velcro and place it along the left seam of the interior piece.  It needs to be 3/8" from the bottom edge.....( I accidentally sewed mine on the top edge.  When I realized my mistake, my kit was already sewn together.  I don't think it makes a huge difference, so I left it!


Sew the strap to the bottom (or top!) edge, keeping enough slack to hold two spools of skinny Gutterman spools of thread.  

Trim the exterior piece, by placing your ruler on top of the fabric and trimming off the excess cotton batting, flush to the edges.


Now it's time to attach the exterior and the interior along the seam lines on the interior.  Place your exterior piece face down on your table and then place your interior piece face up. 


Align the edges so that your corners and edges are all matched.
First, stitch down the two long seam lines, attaching the exterior and interior pieces together.  


Attach the binding on the outside, all the way around.  


Handsew the binding on the inside, just as you would a quilt.


Almost finished!!!


All you have left to sew is the tie.  Take your piece and mark 12" from one finished end.  Take your sewing kit and place it face up on your table.  Find the stitch line on the exterior that corresponds to the left seam line on the inside.  
Stitch your tie to the exterior but you want the stitches to be disguised by the seam on the inside.  
Find that seam on the exterior and mark the middle.  It will be 3" from the top and bottom and approximately 5" from the right edge when the piece is laying exterior side up on the table.  Match the two marks, the one on your tie and the one on your strap.  
Pin in place and sew on the inside to make sure the stitches are masked by the seam.
Now you are finished!!!


I promised a giveaway.....
To win this cute "girlie" sewing kit, all you have to do is "join this site" and become a Follower.  The place to join is located on the right side of this blog, underneath my button.  Then, leave me a comment.  I love comments ♥  If you have already a follower, then just tell me in your comment.
I will use the "random number generator" to choose a winner.
The comments close this Thursday, March 29 at 7:00 p.m. Pacific time.  I will announce the winner on Friday!
I sure hope you win!!!!
post signature