Showing posts with label Baby Brit. Show all posts

Aug 20, 2012

Baby Brit Quilt Along, week #3

Welcome to week #3 of the Baby Brit Quilt Along, we have made half of our blocks now.  I am so excited to see my daughters' finished blocks.  Remember to upload the photos of your finished blocks to the Baby Brit group on flickr.
I chose this color combination this time.  I sewed the five strips of fabric together.


I may be weird, but I'm excited about these large scraps of fabric!  
I love using scraps in projects.


Remember to cut out all four rectangles using the template, but reversing two of them so that you will have a perfect "x" pattern.

Here is my perfect "x" pattern.


I sewed the skinny light blue strips to each of the four rectangles.
Press the seams towards the skinny strips.


I didn't take a photo of the three strip piece of fabric this time, but I sewed it between the two rectangles.  You can look at week #1 and week #2 to see the photo tutorial for this step.


The last step is adding the long red polka dot strip between the two rectangles.


The block is complete! 
 I get a thrill of seeing the pattern come to life :)


Here is Lindsay's block, I think it is stunning with the rich yellow, contrasted by the soft blues and greens :)


I bought my sashing when I bought my fabric for the blocks.
That was a mistake, because now that I have some of my blocks made, I see that if I have too many polka dots.
Now is the time to start thinking about the fabric that you want to use for sashing.  I took my blocks to my local fabric shop and laid them on the floor.  I auditioned different fabrics next to them to see what looked best.  I have finally figured out what I am going to use and will show you when I am ready to sew the sashing.
Happy sewing, I am excited to see your photos on Flickr!!!


post signature

Aug 13, 2012

Baby Brit Quilt Along, week #2

If you haven't joined the "Baby Brit" quilt along yet, it isn't too late.
Once you get the fabric cut, these blocks don't take very long to sew together.
Week #1's tutorial is here.
You can upload the photos of your blocks onto Flickr, on
 the "Baby Brit" group HERE.
I am so excited to see your finished blocks, that I can hardly contain myself :)
This is the color scheme I chose to sew together this week.


I never throw away these scraps, they can be used to cut squares for another quilt :)


I have all four rectangles cut out.  I am really careful to cut two rectangles and then turn the template the other direction and cut two more rectangles.  I would be so upset if the crosses didn't match, I would have to buy three more pieces of fabric, and Material Girls is in another state.  I can't just get in my car and drive there in 5 minutes like I used to be able to do!


The skinny light blue polka dot strips are ready to be sewn onto the rectangles.


The light blue polka dot strips are sew onto the rectangles and pressed towards the light blue polka dot strips.


I cut the edge of the three strip flush with the edge of the ruler so it will be straight.  Notice how the bottom long edge of the fabric is even with the horizontal line on the cutting mat.


I cut the two strips I needed and have a long strip leftover which I will put in my scrap box.


The two strips are ready to sew between each of the two rectangles.
The long red strip of fabric on the left is waiting to be sewn next.


The seams are always pressed towards the skinny light blue polka dot fabric.


Now it's time to sew the long red strip to the two rectangles.


My second block is complete, it looks similar to true Union Jack colors.


I am so excited about my daughters' blocks!  They are part of the reason I began this quilt along.  
Lindsay went to Material Girls quilt shop and chose her six fabrics.
I especially like her greens and gold, and blue houndstooth.


One of the most enjoyable parts about making a quilt is choosing the fabric.  I love to see what different people choose.


Here is Lindsay's finished block.  It is really beautiful.  
I was so excited to see the photo in my email!


This is Rebecca's block, very original.  This is what she said,

"I decided to try something a little different to get a more vintage look (hopefully) and to repurpose some fabrics by using clothes to make these blocks.  I used two pairs of pants, a dress, a nightgown, and two shirts. It took a few extra hours to cut the strips out of each article of clothing and make sure they were the right measurements, so it definitely added some time to my first block.  I think it is worth it if you have some favorite clothes you want to keep a piece of, or if you want to work in some of the details of clothing into the quilt, such as buttons, pockets, or pleats.  Or just for fun."


We will see you next Monday for week #3 :)


post signature

Aug 6, 2012

Baby Brit Quilt Along, week #1


Welcome to my first quilt along!
We will be using the "Victory Garden" pattern, but only making 6 Union Jack blocks, so our quilt will be called "Baby Brit".


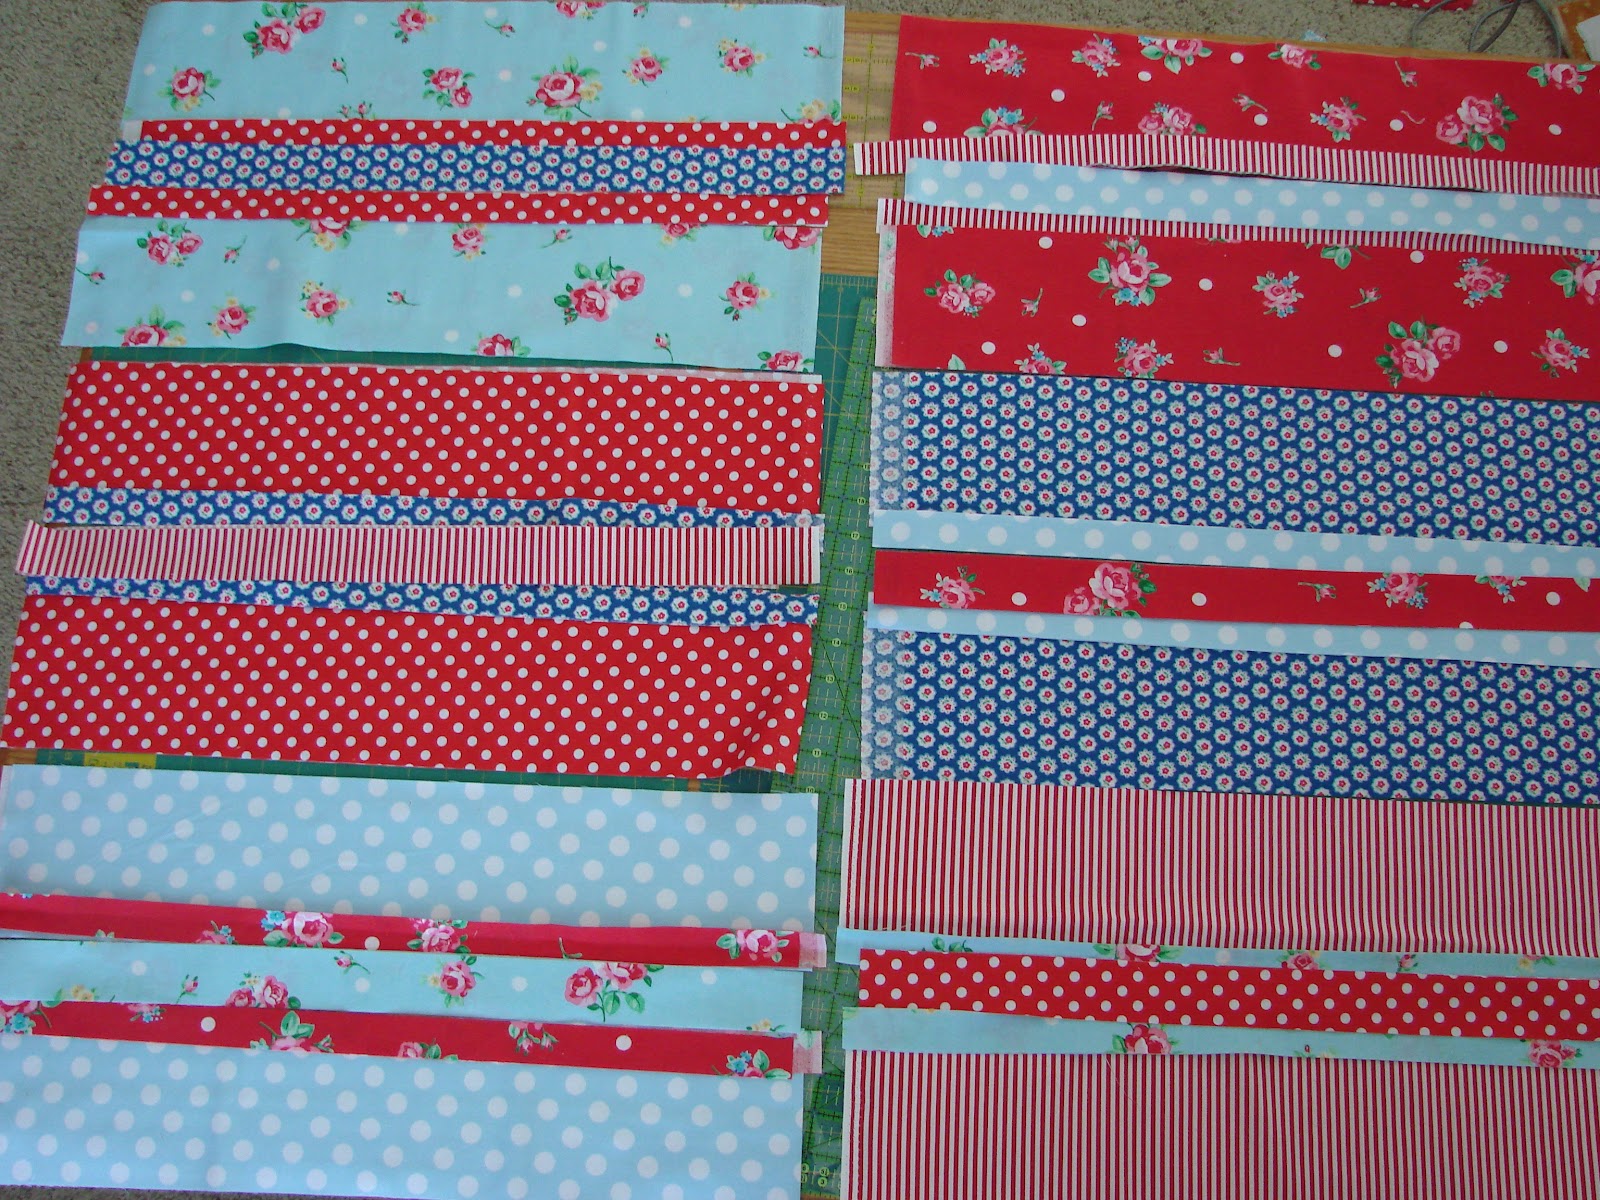
These are the six fabrics I have chosen for my blocks, including the white with red polka dot fabric for the sashing, see previous introduction post to the quilt along.


The first thing you should do before cutting fabric, is to read all of the instructions first, just like you do when you follow a recipe.
Under the heading cutting, it tells you exactly how many strips to cut out of each fabric.
  I cut each of my six fabrics first.  They were all cut into width of fabric (WOF) strips.  


It always helps to have a cold drink of pomegranate lemonade to give you energy!


Don't forget to save your selvages if they are cute or colorful, you can use them in a selvage project sometime. 
 Usually cut mine l  l/2" from the selvage edge, leaving some of the print on the selvage.


By cutting all my strips first, I was able to audition them together and see which ones I liked best together.


As I stated before, I don't really think it's fair to the pattern designer to give you the measurements, so I hope you bought the pattern :)
If you haven't bought the pattern yet, maybe you will when you see how easily this block goes together and how cute it looks !

According to the directions, I sewed the skinniest strip to the widest strip.


Now sew a medium strip to the skinny strip.


Sew on two more strips to make the piece symmetrical.


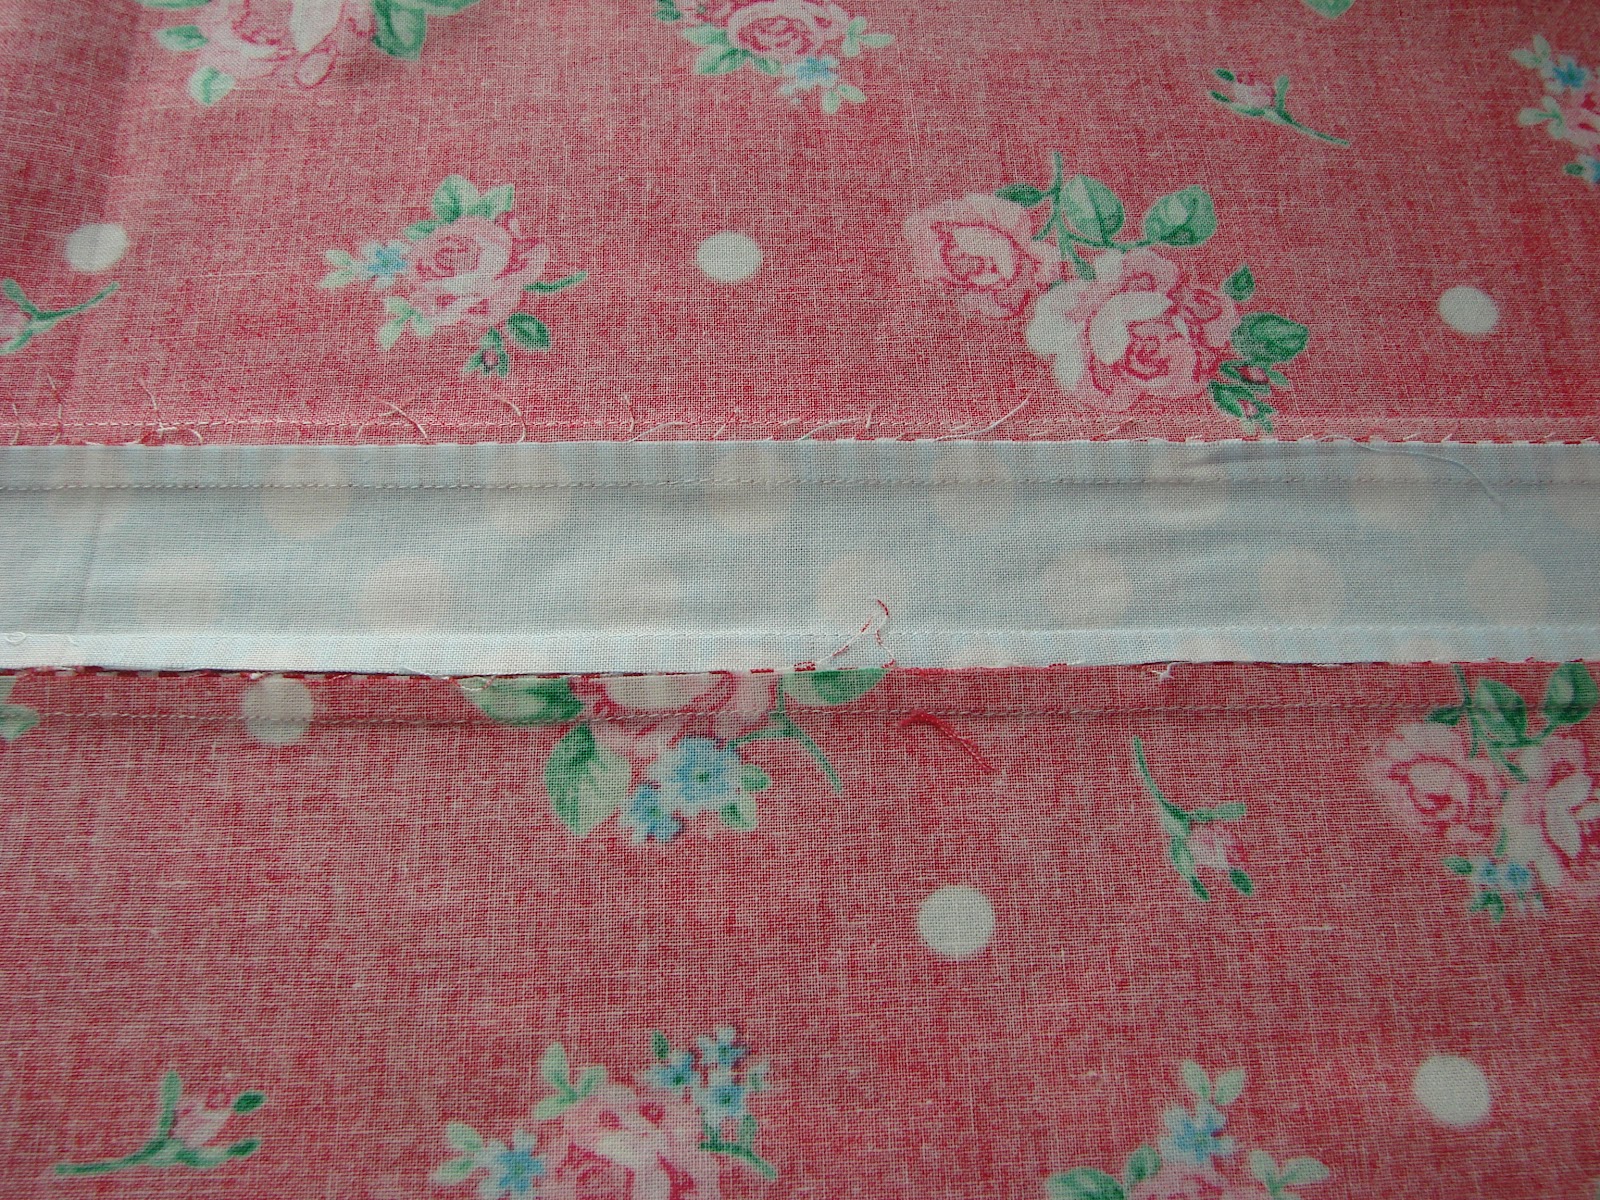
On the back, pressed the seams flat.  I like the look of the striped strip standing out so I pressed the seams towards the stripes.
The red striped strip is so skinny, it barely looks like there is a seam, when they are pressed.


Lay the template (included in the pattern), on the "five strip" as shown and trim for a total of four rectangles.  Be very careful to line up the corners of the rectangle with the center of the cross fabric.

BE SURE TO FLIP THE TEMPLATE AFTER CUTTING TWO RECTANGLES SO YOUR STRIPES WILL GO IN THE RIGHT DIRECTION.

Match up your four rectangles.

Next pull the two strips that match the red striped skinny strip.
Sub cut one of the strips into four pieces.
Lay the pieces to each of the rectangles on their inner horizontal edge to  the create the inner stripe as shown.


Sew and press the seam toward the striped fabric.


Pull the strip that matches the cross fabric (light blue polka dot). 
Sub cut ONE piece for the horizontal cross piece and set aside.
Cut the remaining strip in half.  Sew each half to the remaining portion of the striped strip as shown.


Press the seams toward the striped fabric.


Sub cut this trio of strips into two vertical cross pieces.
Your leftover strip will be put in your scrap basket.


Lay out all rectangle pieces as shown.


Sew together top rectangles to top vertical cross piece.


Next, sew top and bottom strips to horizontal cross piece to complete flag block.  
This is how the block should look on the back.


All of the seams are pressed toward the skinny red striped fabric.


The block is finished!
Isn't it beautiful?  I am really pleased with the finished block.


When you have finished your block, upload it to the Baby Brit
flickr account.
Our quilt along will continue next Monday, August 13.


post signature

Jul 23, 2012

Baby Brit quilt along reminder


I want to remind you of my "quilt along", called "Baby Brit".


The link to the info is here
 It begins August 6.
I devoted one of my boards on Pinterest, to Baby Brit.

Technically, Baby Brit is just six blocks in a quilt, but I just liked the different color variations.

I will let you in on a little secret......
I have already made the first block....shhhh.....

I had to get it done so I could write the tutorial and post it on August 6.

I had no idea it would be so much fun to sew!
It is a slightly different method than I have used before, but it was really easy. 
Easy, wheezy, cheesy, breazy!!!

Please join us, my daughters and I.

I am going on a little adventure today, on a mini quilt shop hop in my new convertible.
The roof will be open, and the sun will shine on my face.   
I will tell you all about it on Wednesday.


post signature

Jul 2, 2012

Quilt Along

We are going to have a quilt along.  Do you want to join?  
I hope you do :)
The quilt along will be from the "Victory Garden"quilt pattern, by Busy Bee Quilt Designs.


Our version of this quilt, is "Baby Brit", sewing six union jack blocks.  The finished quilt will measure 56" X 62", big enough for a lap quilt or generous baby quilt or great wall hanging.
We are going to start on Monday, August 6.  That will give you plenty of time to choose your fabric.  
Here is the schedule:
August 6:  block #1
August 13:  block #2
August 20:  block #3
August 27:  block #4
September 3:  block #5
September 10:  block #6
September 17:  sashing and border
September 24:  machine quilt
October 1:  bind the quilt
My daughters Rebecca and Lindsay will be joining the quilt along.
I started a Flickr group where you can upload the photos of your blocks so we can all share and comment on each other's lovelies!!
The name of the Flickr group is Baby Brit, and my username is cynthiahorst.

Fabric requirements:
Blocks:  5/8 yd. each of six different fabrics.
Sashing:  1 yd.
Border:  l l/4 yd.
Backing:  3 l/2 yds.
Binding:  l/2 yd.
You will also need to purchase the pattern.

Here are the fabrics I have chosen for my quilt.


On August 6, I will post a full tutorial for the first Union Jack block, so that you will easily be able to follow along.  It is important that you purchase the pattern, because I won't be giving measurements in my tutorial.  
I sure hope you join my "Baby Brit" quilt along, it will be a lot of fun. 


It can be your way of celebrating the Queen's Diamond Jubilee:)

You don't even have to use reds and blues.  Be creative in your color combination, think outside of the box!


Let me know if you want to join, I can hardly wait!


post signature