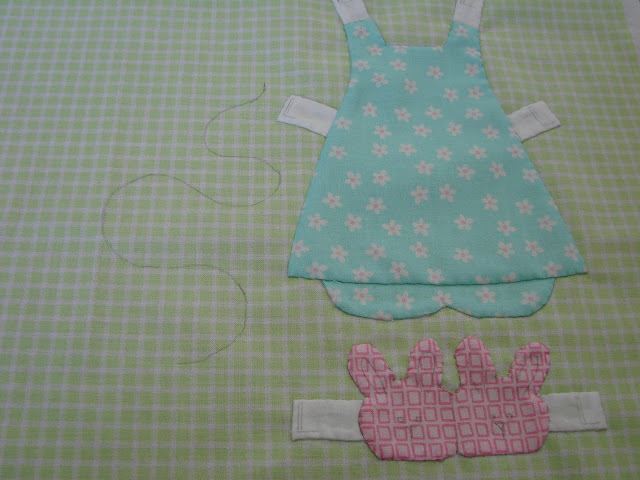
Now that the baby doll pyjamas, the bunny slippers and the tabs are appliqued, it is time to transfer the squiggly line for the rick rack onto the fabric. I tape the paper pattern onto my light box and position my foundation fabric on top of the pattern so that it is perfectly lined up.
Here is the squiggly line that I traced. It is really important to transfer all the markings perfectly, or almost perfectly :)
I glue the rick rack down with Roxanne's baste it glue.
I thread my needle with 2 strands of matching embroidery thread and stitch along every rick and every rack. It is amazing how this simple technique makes the rick rack look just like a telephone cord.
Here is a close up of the stitch.
This is what the stitches look like on the back.
After the rick rack is glued and stitched, it is time to position the phone under the tracing paper. When I know it is in the right spot, I glue it down with a couple of dots of glue.
Then I applique the phone using the needle turn method.
Now I position the phone receiver and glue it in place.
The phone has been appliqued! Step by step, the block will soon be completed.
I have been showing you all of my paperdoll blocks and as I mentioned before, this is the last one. I wanted to show you the method that they are appliqued and embroidered so that you would see how labor intensive they really are.


No comments:
Post a Comment