This is the sleeve, there are two basting stitches sewn along the top and the bottom.
I didn't photograph a few steps....sorry....I sewed pipin to one side of each cuff and folded the other side of the cuff under 5/8" and pressed. I gathered up the bottom of the sleeve to fit the cuff, and sewed along the stitching line.
This is the right side of the sleeve. The piping shows right at the seam line, thank goodness! I hate ripping stitches out, although I keep my handy Clover seam ripper by my side. I do use it from time to time :)
I turned the cuff lining to the wrong side of the sleeve and pinned it in place. Notice the french seam on the sleeve? I love them because they are pretty and there is no raw edge.
I handstitched the cuff lining to the sleeve using a blindstitch.
I pull up the gathers at the top of sleeve and pin the sleeve to the armhole, adjusting the gathers to fit. I sewed all the way around and finished the raw seam with a zig zag stitch to keep the seam from fraying.
I folded the bottom of the dress under l/4" and pressed the seam. Then I turned up the hem 5". It is customary on these old fashioned dresses, to have a deep hem. It gives the dress weight and is also practical because you can let the hem down as the child grows. The dress is finished!!!
Here is a close up of the dress, just like the ones I used to wear as a little girl.
Here is the back of the dress, I sewed four buttonholes. My sewing machine has an automatic buttonholer so it wasn't too difficult.
This is what the sash looks like tied in a big beautiful bow!
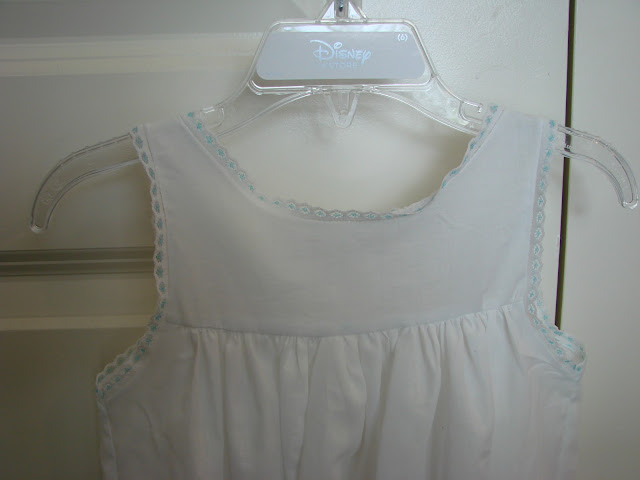
I made a slip for the dress because the fabric is a little see through. I have made so many of these slips, I also make them for nighties.
The neck and armhole seams are finished by sewing on the lace and enclosing the seam with a zig zag stitch.
The back of the slip has a placket and is attached with two buttonholes and buttons.
On Friday, I will show you what Maisie looked like in her Easter dress :) I saved the best for last!!!


