I have tried my best to keep up with this weekly Quilty Fun Sew Along, and have been successful!
Sometimes I've had to make the block a week or two ahead of time because I've been out of town, but it worked for me :)
I have pinned all of the block tutorials on my "Quilty Fun Sew Along board on Pinterest, although you do need the book for all the measurements.
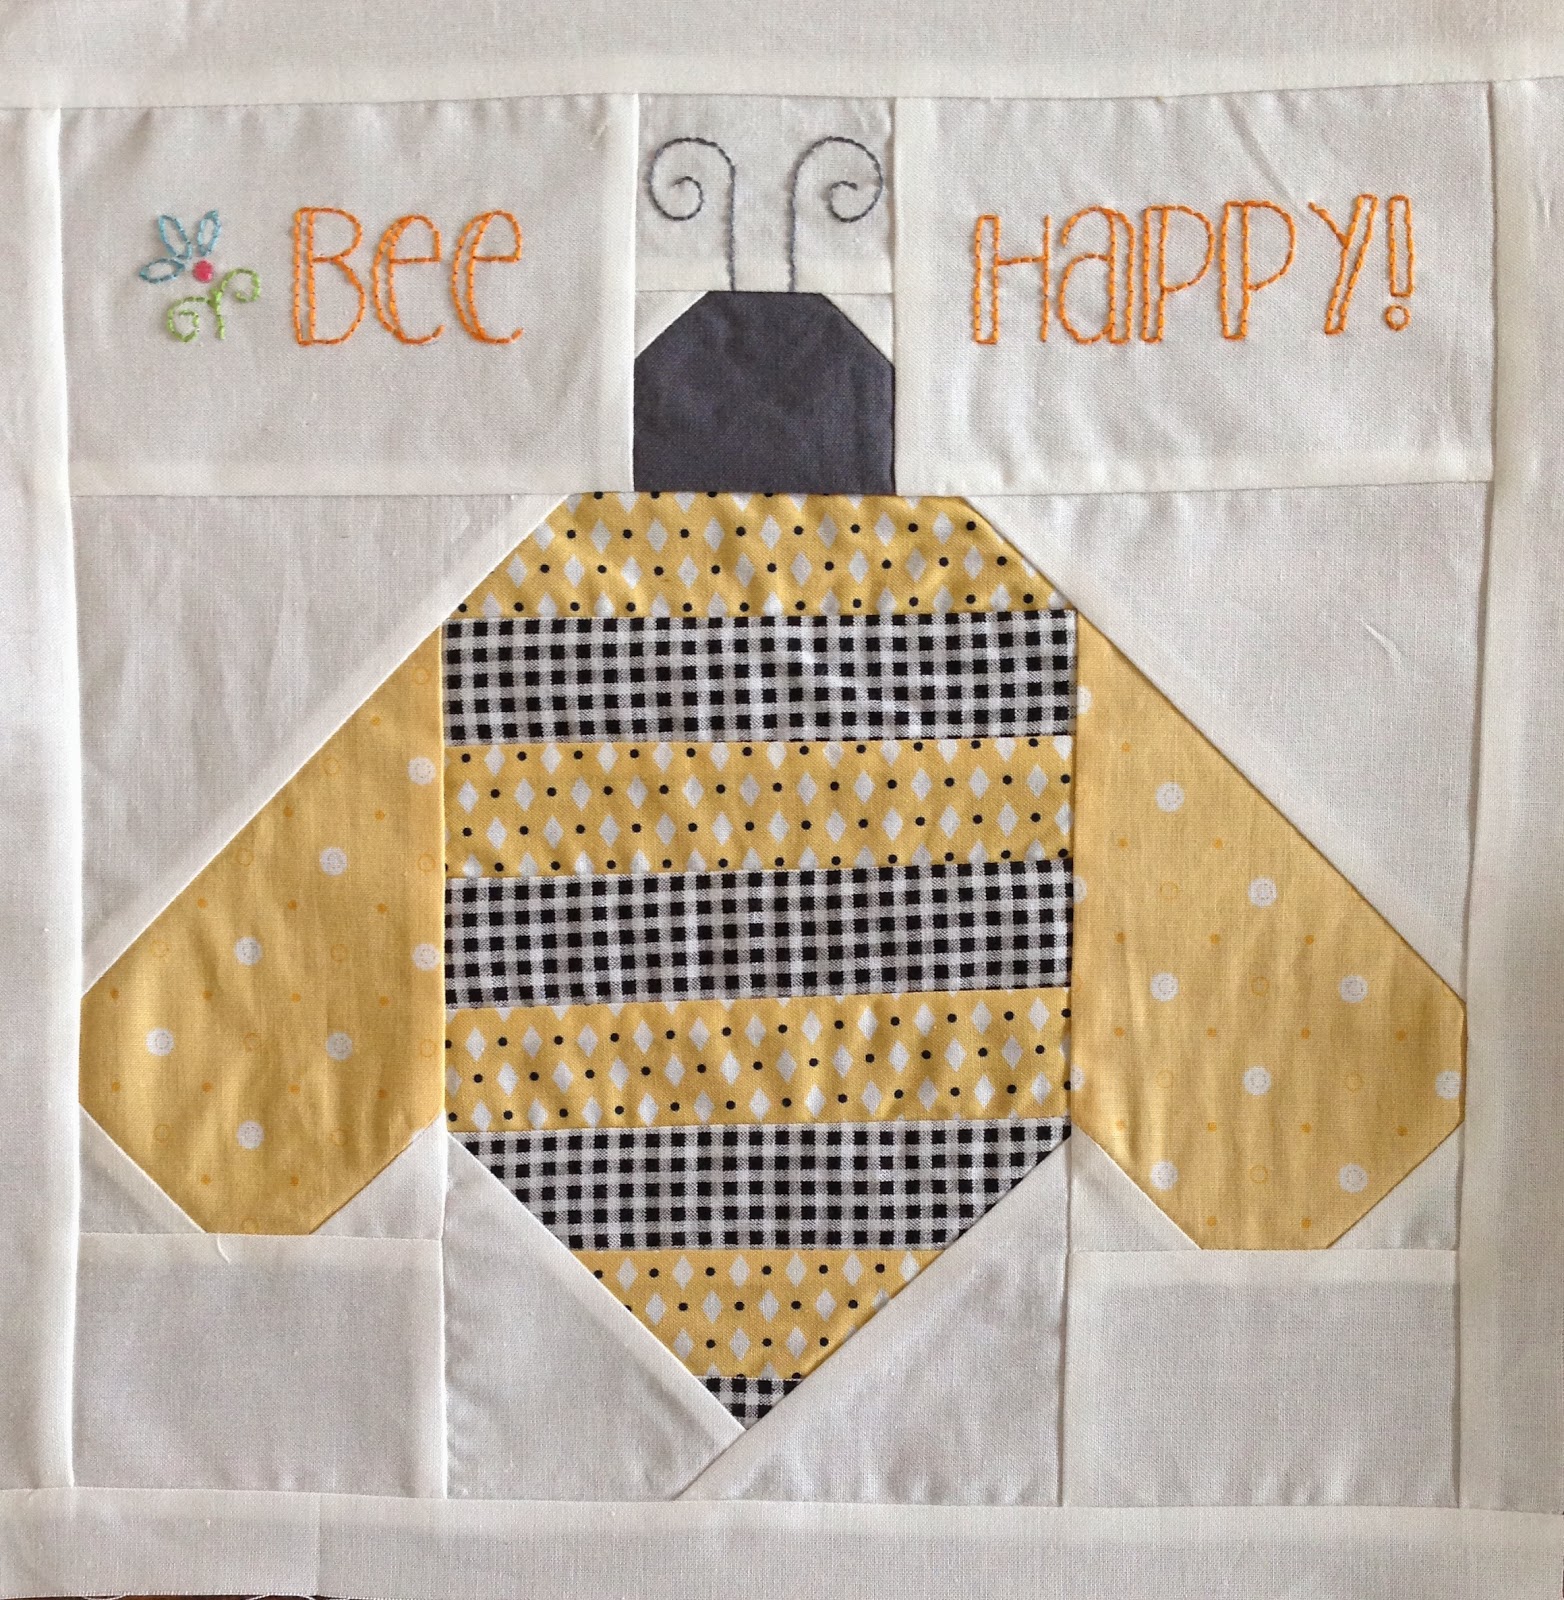
I've really been looking forward to this "bumblebee" block.
I used Kona charcoal for the bee's head, I had already used the same fabric for the "spools" block.
The bee's body is yellow "Vintage Happy" and a black gingham.
The wings are "Polka Dot Stitches".
I traced the letters onto the block, using my light box.
I embroidered the letters, it took about an hour and a half without interruptions.
I usually use red for letters, but decided to stitch in orange instead.
I am a little disappointed because the letters would show up better if they were in red.
Red always "pops".
I'm not disappointed enough to start over though....
I sewed the border on, and the bee came alive!!!
While I was at it, I decided to sash the rows together, creating the center portion of the sampler.
Now I'm ready for Lori to show us how to add the borders, on Monday.
I hope you're enjoying this Quilt Along.
I've loved following other blogs who are doing this same sampler.
I need to give a big "Thank you" to Greg at Grey Dogwood Studio for helping me with my iron issue.
He suggested using spray starch, which was great advice!
Amy from A Quilting Sheep gave me similar advice, thank you so much!
I can hardly wait to see what borders everyone will be choosing :)


I haven't decided on my borders yet.I do agree, it's been a fun quilt along and I love seeing wah everyone is doing. Your bee look great!!
ReplyDeleteYour bee looks very cute with the orange embroidery. The block comes alive with the borders. And I'm happy that you liked the starch tip!
ReplyDelete