Showing posts with label smocking. Show all posts

Apr 27, 2015

Heirloom Sewing


This is my Sally Stanley pleater, and my husband made the board for me years ago.  
Through the years, the little dowels that hold the spools of quilting thread have broken off but it still works :)
(There's a Netflix movie on my iPad, sorry didn't mean to include it!)


The grooves are where the needles go, they curve around the dowel.


I rolled the fabric on a rod and slowly turn it through the pleater, aligning the fabric with a certain groove to keep it straight.


The quilting threads act as guidelines for me to smock on.


I'm smocking a bonnet for my granddaughter Isabel's blessing.
The thread is silk ribbon.
The fabric is silk batiste and it's very difficult to work with.
I'm using Madeira thread on my Bernina 750 QE and it keeps breaking, which is very frustrating.
It seems to break the most when I'm using a gathering stitch.


This is entredeux, it's French for "between two".  
Entredeux is used in heirloom sewing to join laces or join seams.
Sometimes you leave the seam allowance on while you sew it to fabric, but if you're sewing it to gathered lace, you trim one side of the entredeux off.


Here, I have trimmed the seam allowance of the entredeux and am attaching gathered French cotton lace.


French cotton lace is wonderful to work with!
To gather the lace, you pull one of the cotton threads running along the top, as pictured below.


This is one of my heirloom books, I think it's from the late 80's, or early 1990's.
I really can't imagine dressing a little boy up in that outfit trimmed in lace, but it's a Southern thing.


This is the yoke and neckline of Isabel's dress.
Each piece of lace and entredeux is attached separately, on the yoke.
The lace with the embroidered flowers is called Swiss cotton.
I finished the neckline and attached the gathered lace with entredeux.


The shoulder seams are attached with entredeux also.


I don't have little Isabel to try the dress on and show you how the dress drapes, so I used Kermit :)


Here's a closeup, I think you can see the lace so much better here.


I used a band of embroidered swiss cotton on the sleeve, with entredeux on each side.
There will be a small "fancy band"on the lower part of the dress, and then a gathered ruffle trimmed in wider French cotton on the hem.
Isabel's blessing is next Sunday, I hope to be able to show you photos of her finished gown, slip and bonnet, next week.
I'll also have lots of photos of Isabel in her silk gown to show you too :)
Have a great week!

post signature

May 9, 2014

Out to Sea


I'm sorry that this little outfit is so wrinkly!
It's a button on suit that I made for my son Sean when he was 
18 months old, 20 years ago.


It's picture smocking, and the smocking plate is called 
"Out to Sea".
I made piping from the fabric that the knickers are made of.  


There are six buttons that go around the waist and keep the pants attached to the shirt which buttons down the back.


I really love the pleats on the shirt, underneath the smocking.


This pattern is called Chery Williams button on suit.
post signature

May 7, 2014

Basic Square Yoke Dress


I made this dress for my daughter Vanessa when she was 10 years old, which was 14 years ago.
I have a plastic storage container full of dresses and buttons on suits that I've made for my children over the years.


As you can see, the insert of the dress is smocked on black fabric.
I picture smocked little cats with sunflowers and butterflies to match the fabric.


This smocking pattern was in an issue of Sew Beautiful magazine.
Notice the black piping trim on the sleeve band.
The smocked cats are exactly the same colors as the cats on the fabric.


I embroidered little bullion roses to match the smocking, on the piped collar.


I'm not a cat lover, but I couldn't resist these cute little cats :)


I sewed gold buttons on the back.


There is a big sash that ties in the back.
The pattern is Chery Williams Basic Square Yoke Dress.

post signature

Oct 7, 2013

Lucy's Smocked Bonnet


I've been working non stop on Lucy's bonnet.
I watched a lot of TV this weekend, so I smocked while I watched.


I smocked diamonds with little flowerettes in the middle.
Isn't the lace beautiful?  
It's 100 % cotton French lace, very delicate


The bonnet will look so much cuter on Lucy head.
The back gathers up, and some of her hair will peek through :)


I used a silky ribbon for all the smocking stitches.
It adds texture and a soft sheen.
I used ecru silk satin ribbon.


I bought this ribbon once at an heirloom supply shop when I lived in the South.
I have no idea what brand it is, and don't know if I'll ever find any more.
The online shops that sell heirloom shops don't have the best selection.


This is the 7th bonnet I've made in 6 years :)
I have 7 grand daughters, and have made one for each of them.
I made heirloom blessing outfits for my two grandsons as well, but I didn't make them bonnets!


My daughter Lindsay texted this photo of Lucy to me.
She and her husband were on a date.
I just know that Lucy is dreaming about how angelic she'll look in her blessing gown and bonnet :)
More photos to come!


post signature

Apr 19, 2012

English Smocking

This is me, concentrating really hard.  It takes focus to smock because you are constantly counting the pleats...2 up, 3 across, 2 down, 3 across, etc.


When you smock, your needle is always kept horizontal when you take stitches into the pleats.


This is what the smocking pattern looks like.  The thread I like to use is called floche.  It is made my DMC, but instead of 6 strands of floss, you only use 1 strand. Floche thread is cotton, and it is very silky.  I think it lies really well on the pleats.


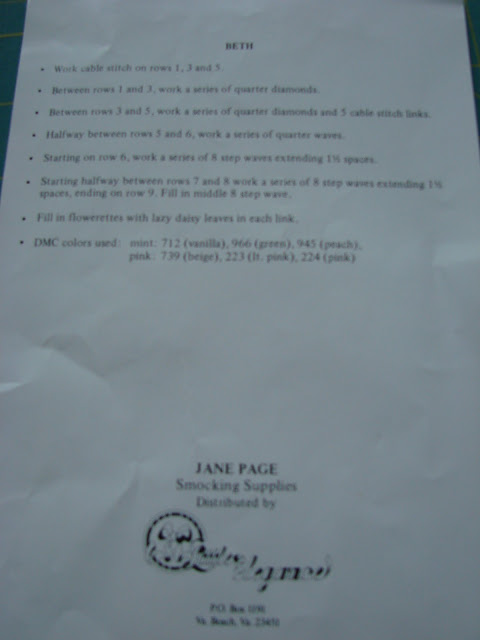
This is the back of the pattern, the instructions.  It doesn't give you very much information, just some mathematical directions.


The pleating threads are used as guides for the different rows.  I am worried that the pleats aren't going to stay together in the middle of the hearts, so I am going to have to do a row of backstitching.


On the back of the smocking, I did one row of cable stitch.  That will hold the pleats together on the front.


The smocking is complete.  This dress is size 3, a smaller size and I smocked next to the armhole on the dress front.  There are blue lines drawn for the lower half of the armhole which I will cut after I have blocked the smocking.  To block, I lay the front of the dress on the ironing board and match it to the size of the blocking guide. Then I pin the dress to the ironing board using a few straight pins.  I spray the smocked area with some mild starch and spray steam the smocking.  Let it dry.  


Now it's time to construct the dress. 
Look for that tomorrow : )
post signature