Nov 2, 2015

Night Circus


I posted about an extravaganza that my daughter Lindsay hosted in her home, last year.
It was called "Into the Woods", and you can see it here.
This year, the theme was "Night Circus".
This was the invitation.


The dinner was held at Lindsay's house, and Brook who is the creator of the Cooking Group, was the co host.
All of the furniture and decor was moved to the garage, while the transformation took place days before the event.
Lindsay can fit 32 women in her family room, seated at the tables.
Everyone is told to come in costume, vintage circus theme, black and white with a touch of red.


Lots of friends stayed late into the night (many nights), creating the decor.
By late into the night, I mean 3:30 - 6:00 am.


These young moms didn't get to sleep in either, they had to wake up before 7:00 am and get their children ready for school!


Jeremy is Lindsay's patient and dear, sweet husband. 
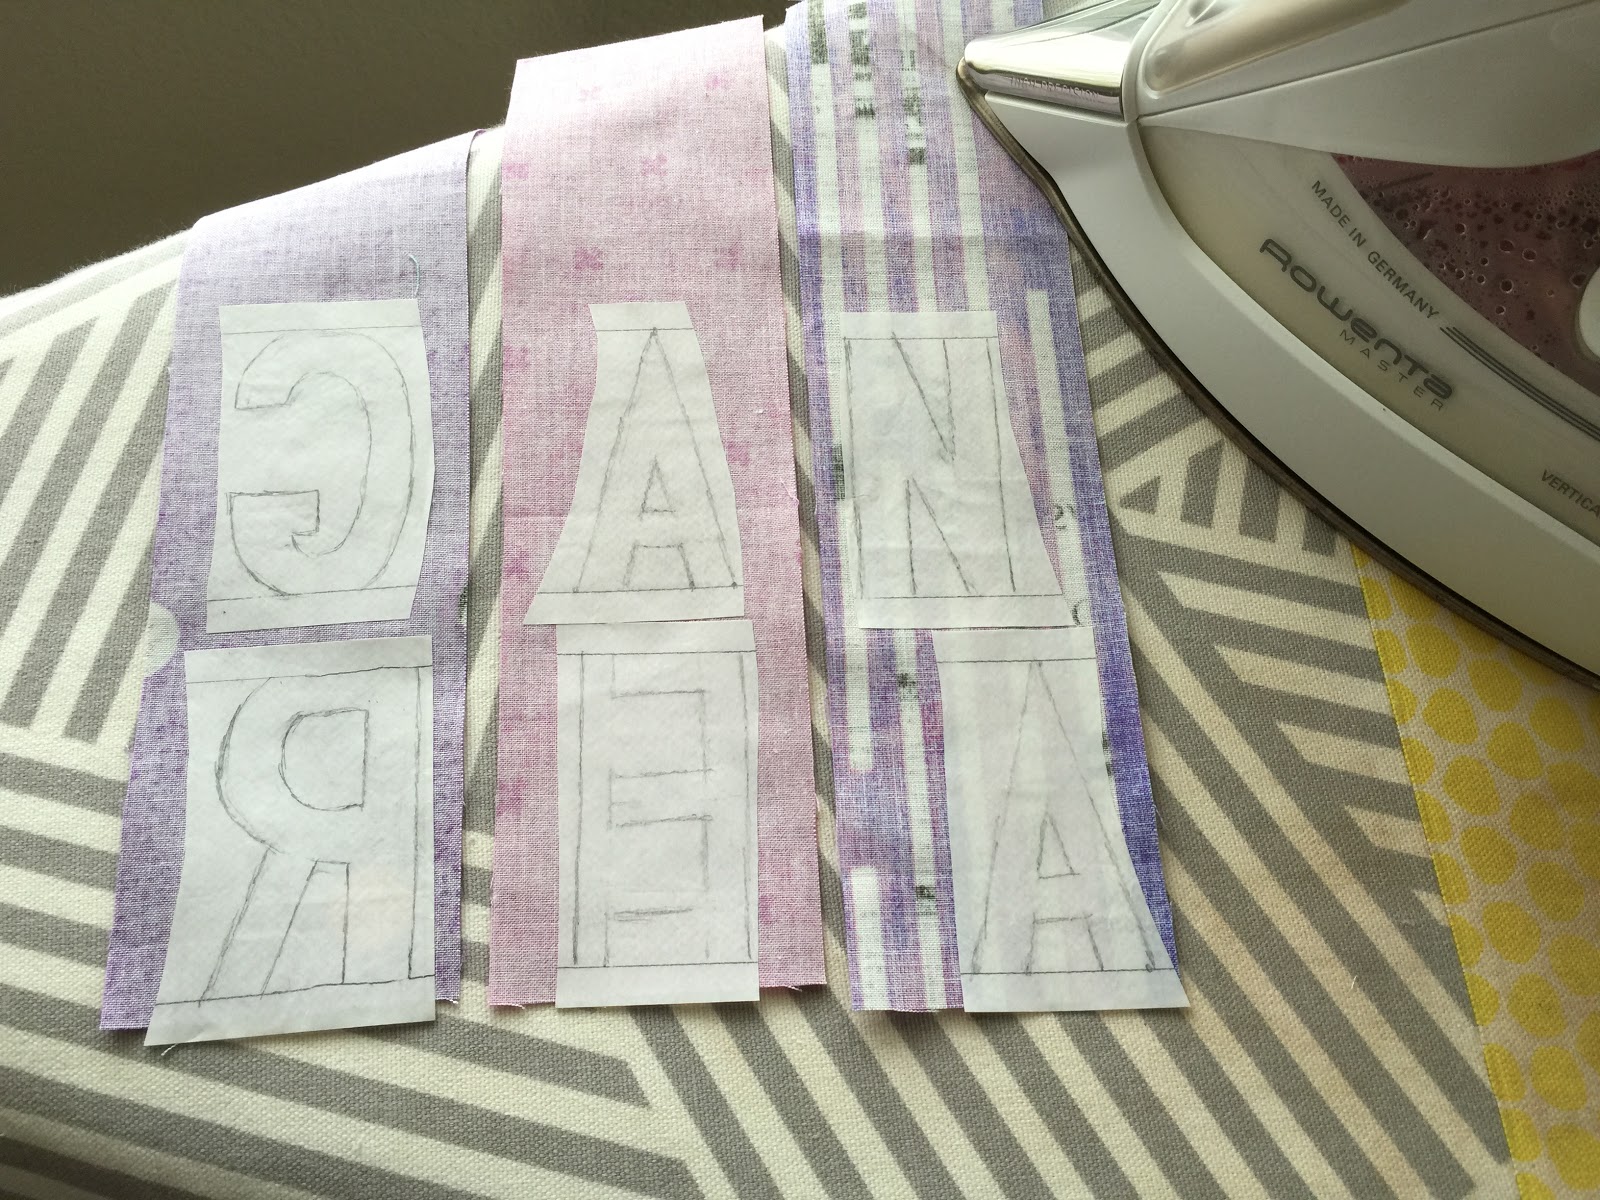
He cut out the wood for the letters that spelled "circus",  painted them, and risked limb and body, hanging them over the balcony.
 He  also put up with his house being in turmoil, for over a week!


This was the backdrop for "selfies".
Jeremy is putting LED lights in the clouds so they glow :)


The night before the gala, Lindsay and her friend Kara, pound and patted the pork preparing it for the dinner.


They lined the pork loins with kale and an exotic mushroom mixture.


They carefully rolled the loin and covered it in prosciutto.


Meanwhile, the women in the next room continued creating the decor.


There is still lots of clean up needed, but the entryway is coming together!


These are the appetizers...
The table at the far left has the gourmet popcorn....


 Homemade salted pretzels


Pork belly corn dogs


I thought the Cherry Garcia flavor was the best!


Miniature funnel cakes, they were so yummy!!!


Brook and Lindsay made gourmet lollipops for everyone to take home.


Look at the place settings!
The name tags are two cookies, and each one was decorated, according to the recipient's personality.
The writing is so fine, I could hardly believe it was done with frosting!!!


See what I mean?  Each one is just slightly different, and they all have a touch of red glitter.


This is the room where Madame Mia read our tarot cards :)


 What beautiful and original costumes!
I never would have thought of the "diving" girl :)


Claire's costume was elegant and her boots!!!


 Karli and Kara are mischievious sisters, lol!
They were frying up the funnel cakes and pork belly corn dogs.
My daughter Rebecca, has the rushed skirt, I just wanted to show it from the back :)


Rebecca dressed as the "bearded lady", I think her beard looks great!
She cut pieces off a wig and glued them to her chin.
I love her eye makeup too!


 Mother and daughter, having a great time!


 Rebecca and Lindsay, they are moms now, but when they were growing up, they were my only children who would eat everything I gave them, including different kinds of vegetables :)
They are only a year apart in age.


Rebecca had her cards read :)


So did I!


This is what the clouds look like when the LED lights are lit.
They glow like the moon is shining on them!


 It's time for dinner, let's enter the dining area.


This is the menu


Lindsay's assembling the salad,


while Brook clears away some of the cocktail glasses.


 Kim and Mindy made lots of cotton candy and filled the cocktail glasses.
Then we poured a light bubbly drink over the cotton candy, it was so good!


The table is so beautiful, especially with all the candles lit!


This is the circus tent effect that Lindsay created on her vaulted ceiling, over the tables.


Brook and Kara, both ringmasters.


Lindsay is a ringmaster too!


Two of my daughters and I, we missed you Vanessa :)


Here is the salad, you can read about it on the red menu board.


Brook and Lindsay bowed to enthusiastic cheers for all of their hard work on our behalf.


 Esmeralda and her genie in a box!


The stuffed pork loin wrapped in prosciutto with roasted apples was delicious!!!


I included these two photos so you can admire the lashes, lol!!!


Brook's hat is so fancy and elegant!


Here's my plate of food, it was so scrumptious!
I think my favorite might have been the stuffed squash :)


Before we get to the dessert, I'll show you some of the costumes.


Dessert was delicious and it was light, not making you feel stuffed.
Chocolate Sable Breton, poached pear in vanilla and spices, sprinkled with pistachios and edible 24K gold flakes.


Lindsay's design and Jeremy's masterpiece, welcomed everyone to their home.


Thank you so much for looking at all the photos!
The evening was memorable, the company was great :)
So many of Lindsay's friends stayed until the wee hours of the morning, washing dishes, pots and pans, and taking down decorations.
Even with all the help, it still took a few days to get the house back in order.
It was well worth it though, memories were created!

post signature

Oct 26, 2015

Farm Girl Vintage quilt


I finished one of my Farm Girl Vintage quilts, with most of my favorite blocks!
I love the American flag, the Canadian maple leaf, the milking can, Mama Hen, the canning jars, the strawberry and the cherry, Penny Pig, the stars, the cute little lamb and the mixing bowls and wooden spoon.
I really, really love this quilt.
I have a lot more Farm Girl Vintage quilts in the works, this isn't the only one I'm making.
They are all so irresistible!

post signature


Oct 19, 2015

Quilty Fun Birthday Cake Banner Tutorial


The Quilty Fun Birthday Cake pattern was designed by Lori Holt, of Bee in my Bonnet.
You can find the free pattern at Fat Quarter Shop's Jolly Jabber.
I went a step further, monogrammed the cake and turned it into a banner.
I'm thinking it's great for hanging on the wall and celebrating your birthday for a week or even a month!
I'm almost through making one for each of my grandchildren and some of my daughters :)
I've created a tutorial for the monogramming and banner.
My first step was to choose my fabric, one of my favorite parts!


I cut out all the pieces and labeled them with Alphabitties which I purchased at the Fat Quarter Shop.
I have two sets, and use them all the time!


There are quite a few half square triangles to sew, I like to use my Omnigrid ruler which I bought as a trio.
Well worth the price, I use them all the time!
My Pentel mechanical pencil helps me draw a nice, thin line.


Drawing a line on the square helps with accuracy.


After a bit more sewing, I have 3 sections of the cake completed.
It's like constructing a puzzle, one piece at a time.


My Quilty Fun Birthday Cake is baked, now it's time to monogram.
I'm baking this cake for my granddaughter Reagan who is turning 5 in November.
I know that purple is her favorite color, but a good purple is hard to find.
I don't have very much purple fabric, but I did have these fat quarters and am very pleased with them.
I added a happy pop of yellow for the cake pedestal.


I like to use Heat n Bond Lite.
 I cut a strip of paper 3 l/2" X 12 l/2", not intending to use the full length this time.
Reagan is only 6 letters and won't take up that much space.


My Heat n Bond paper is 3 l/2" wide, and I want my letters to be 3" tall.  
I used my omnigrid l/2" ruler to draw a l/4" line on top and on bottom, leaving me room to draw my 3" letters.


I drew the letters backwards, or reverse.
On close inspection, I noticed that the "G" wasn't backwards!


There we go, I just drew another one!
If you would like some templates of letters to trace, you can look here.


Cut a white piece of fabric 4 l/2" wide X 12 l/2" long, to sew the letters on.


Find the center of the fabric strip by folding in half and making a little crease with your finger.


Press the letters that are drawn in reverse, to the wrong side of the fabric.
Cut the letters out, on the drawn lines.


Whoops, I drew my "N" the wrong way!!!


That was an easy fix...no matter how many years you've been sewing, mistakes still happen!


Peel off the waxy paper backing and lay the letters on the white fabric.


Notice the center crease in the fabric that lets me see where the center is.


Aurifil 50 weight is my favorite thread to sew with.  
I have lots of white, but not many colors.
I think I'll use the lighter pink.


I machine appliqué the letters with a blanket stitch.


The monogrammed piece is ready to sew onto the cake.


I cut the borders of the banner from "sprinkles" fabric, perfect for little girls!


The side border pieces are cut first.
Cut 2 - 2 l/2" X 18 1/2"


Great, the side borders are sewn on :)


The top and bottom borders are next.
Cut 2 - 2 l/2" X 16 l/2"


Yay, the borders are finished!


I'm auditioning 2 fat quarters for the binding.
I don't want yellow or purple, I want the binding to accentuate the purple cake and bow, and yellow pedestal.
I think the plain light pink will work really well!


Here's a closeup.
I think the herringbone is too busy...
Unfortunately, the cute little print on the light pink won't show up.


I like to cut my binding strips 2" wide.
I cut 4 of them out of a fat quarter, 22" long.


This is the backing I'm going to use for my cake banner.
It's whimsical and sunshiny looking :)


When I quilt my cake banner, I stitch in the ditch along the entire cake, pedestal and bow, with my walking foot.
I'd rather not quilt over the cake, and stitching in the ditch makes the cake pop, almost looking textured or three dimensional.


I sandwich my banner with the top, warm and natural batting and the backing, pin it and begin quilting.


When I'm done with my jigsaw machine quilting, I trim the banner.


All trimmed and ready to bind.


I sewed the binding around the banner.
If you'd like to know how I do this, I have a tutorial.


Here's a closeup of the jigsaw quilting, and I don't quilt over the letters.


I like to use these Clover clips instead of pins, to hold the binding in place.  


I love hand stitching the binding, I find it very relaxing.


I finished my Quilty Fun Birthday Cake banner!


Here's a look at the back.


I hope you enjoyed my tutorial.
If you have any questions, please email me.
I love comments too :)
post signature