Aug 8, 2014

Modern Instabee - August


It's time for me to make August's block.
Ellen has chosen the Triple Star, it seems to be the most popular block in our hive.


About 2 months ago, Ellen mailed all the hive members the little center block you see below with the bumble bee.
She said she wants to make her little daughter a quilt for her bed, and that we needed to use bright, happy colors to match the square.
These are the colors I chose :)


Here's the first block.


Here's the second one.


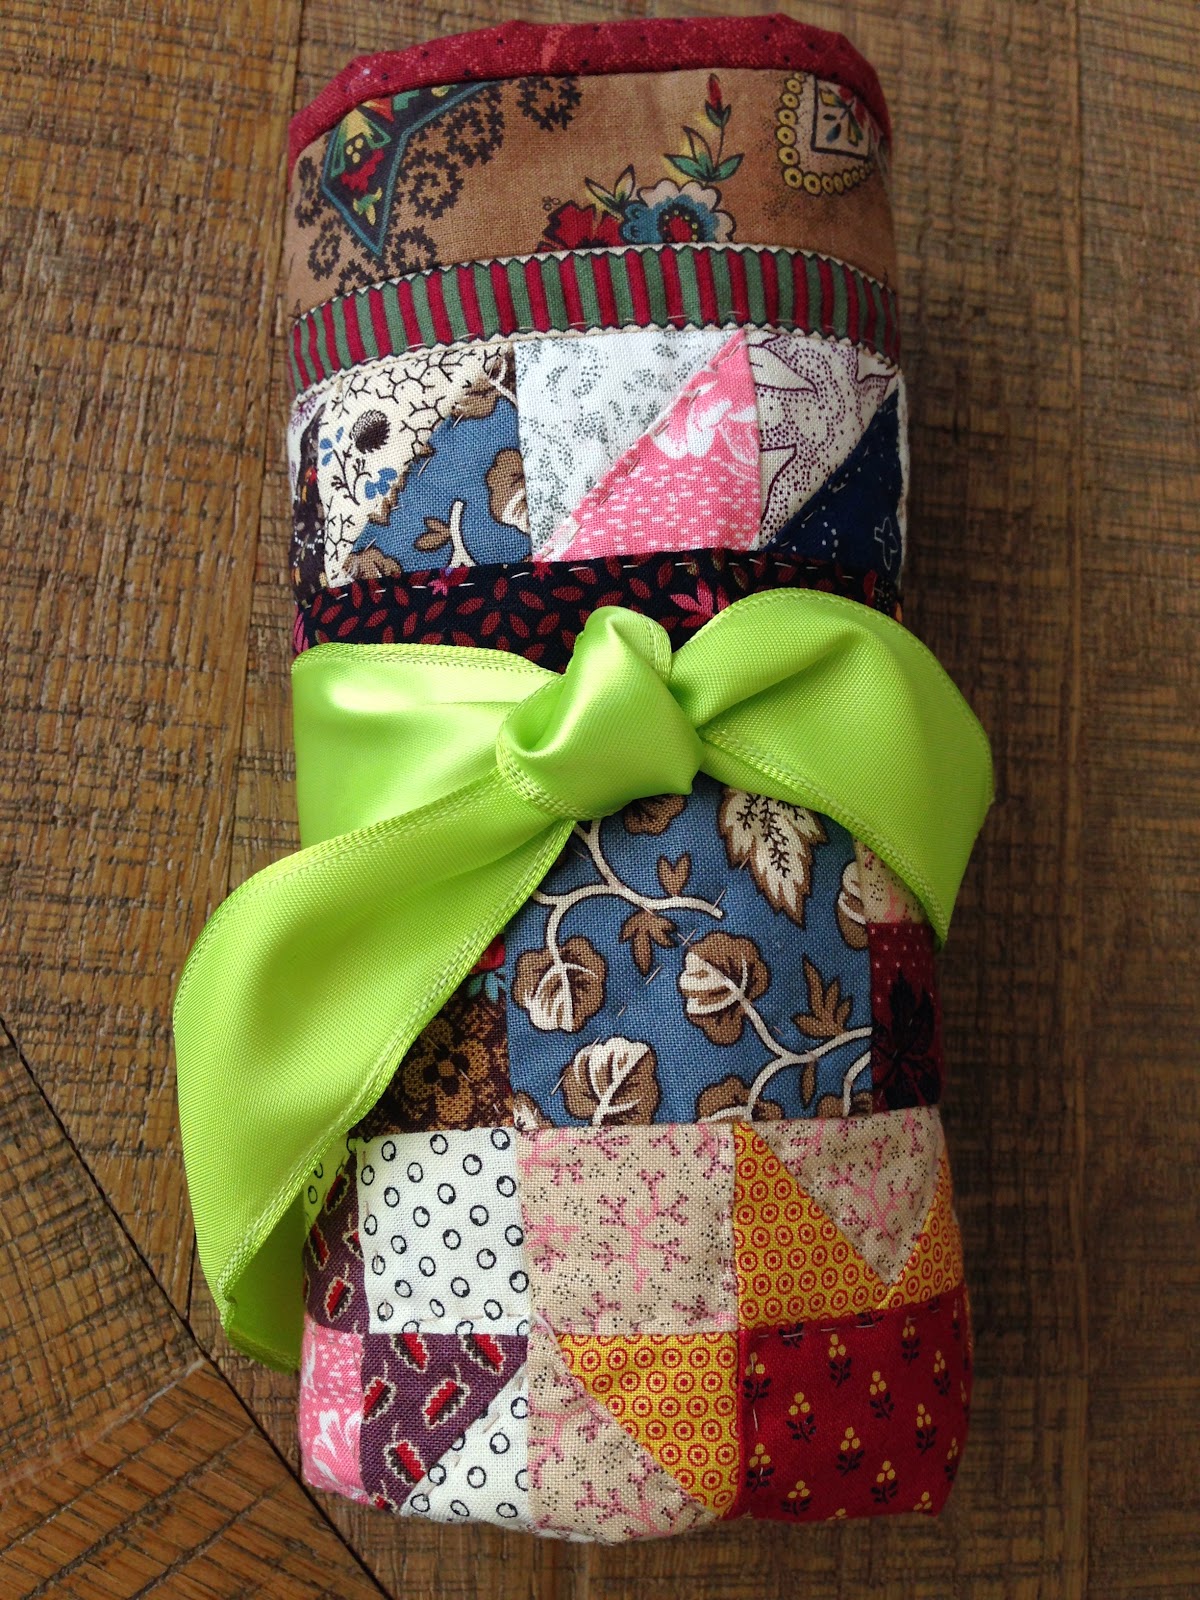
Here's the triple star.
Do you notice how I messed up? Aaaaaggghhhh!!!!
I thought very seriously about leaving it, but I just couldn't.


I had to take off the entire outer star, and re sew the half square triangles together.
How did it happen?
I tried chain piecing instead of laying the pieces out each time I sewed them to make sure they were in the right order.

post signature

Aug 6, 2014

Mini Medallion QAL, June and July


I showed you the 12 fat quarters I chose for my Mini Medallion.
This QAL is a mystery, we get a little bit each month, from June to November.


This is my first layout, and I love the text print for the background.


This is the center block, the QAL for June.
It wasn't very time consuming :)


I love how the border uses all 4 prints of aqua.
Krissy, the designer, uses a different technique for joining them. 


This is July's completed block, a little more detailed than the center block.
Notice the rotating prints of orange, I think it adds a lot of interest.


The August addition to the medallion will be released today, you can find it at Clover and Violet, here.
You can find all of the mini medallion posts on my Pinterest board.


post signature

Aug 4, 2014

Mini Medallion Series


Have you heard about the mini medallion quilt along?
It's being hosted at Clover and Violet, and is written by Chrissy from Sew Lux Fabric.
They post once a month, it began in June and ends in November.
I am going to start mine tomorrow, this is the stack of fabric that I chose to make the mini medallion quilt.
I'm a little behind, but I don't think it will be very hard to catch up.
It is a mini after all, and we are given 6 months to complete it.
I have a Pinterest board dedicated to the Mini Medallion, here.
I had a great time choosing my fabrics, and look forward to sharing my progress with you :)

post signature

Aug 1, 2014

Fat Quarter Quilting: Reproduction Fabrics


The first fabrics I used when I began quilting about 10 years ago, were civil war reproduction fabrics.
I love the richness of the colors and the prints.


The name of this quilt is "Row Sampler" from the pattern Fat Quarter Quilting:  Reproduction Fabrics by Lori Smith.
Here is the link to her website and the pattern.


This pattern is 16" X 20" and is perfect for a table topper.
I hand quilted this mini quilt to make it look authentically old :)
It took some time but was definitely worth it!


I love a quilt with red binding,  and I used reproduction fabric for the backing too.


I wonder if people used to hand quilt outdoors during warm, sunny days when they had more light and the days were longer.


My little mini quilt is all rolled up, ready to gift :)

post signature

Jul 30, 2014

Layer Cake Lemonade Quilt Pattern


I just found out that my step mother in law's lymphoma cancer has returned for a third time....
She has opted to take chemotherapy and I want to make her a soft, cozy, snuggly quilt to wrap herself up in.
I wanted to finish it quickly, so I chose a simpler pattern which I found through the fat quarter shop, called "Lemonade".
You can find the free pattern here.
I have a Pinterest board named Lemonade, which you can find here.
The quilt pattern Lemonade is made from a layer cake.
I really like Lori Holt's "Millie's Closet", and I think Glenda would love it too.
She's a "vintage" type of girl, and appreciates that sort of thing :)
These are my favorite 10" squares, so I'm not going to cut them in half.


I sewed these 10" squares together and will cut the rows horizontally, to insert between my rows (above) of 10" squares.


I laid all my rows together and really like the way they look :)
Sorry about the yellowy night light....


Here is my completed quilt top.
I love it, with the pops of red and aqua amongst the greens, yellows and pinks.


I bought some soft minky in aqua, to back the quilt with, and Lori Holt's "Vintage Happy" to bind the quilt with.
I love red, and love the way a red binding can "pop" on a quilt.
I just have to get my Bernina back from the repair shop, it's been about 3 weeks and I really need it!


I highly recommend this free quilt pattern, Lemonade.
It was really fast to sew up, it just took me one 
evening :)


post signature


Jul 28, 2014

"Frozen" fabric


I began a tradition of buying my grandchildren pj's or nighties when they come to visit.
I looked at a few stores for a cute "frozen" nightgown and couldn't find any.
I went to Joann Fabrics and saw this beautiful fabric!
The main character is Elsa, which is my grand daughter Neo's favorite :)
The fabric was pretty expensive, $24.99/yard, but it was 60" wide and was on sale.  I thought I could make matching nightgowns for Neo and her sister Kylie.


To make a long story short, there wasn't quite enough fabric for two nightgowns.
I found these pretty little frosty pink flower buttons in my button jar.
I used pink eyelet for the neck and armhole trim.


To make another long story shorter, used lavender eyelet for the hem trim.
Originally, the pink trim was for one nightgown and the lavender was for the other.
This nightgown was made from a slip pattern and I have made about 20 or more of them for my daughters and grand daughters.


I was able to fussy cut the yoke so that Elsa is front and center :)


Here is Neo wearing her nightgown, she really loves it!
She wants to wear it during the day too, and Kylie is wearing her "Princess Sophia" nightgown that I bought for her.
Aren't they the cutest?  (proud grammy)

post signature

Jul 25, 2014

Scrappy Cross Roads Block


Lori from Bee in my Bonnet had a tutorial for her Scrappy Cross Roads Block on Instagram, you can read about it on her blog here.
I decided to make it, and pulled 48 -  2 1/2" squares from my 2 l/2" scrap box.  
I cut enough for two blocks :)


It also takes 8 - 4 l/2" squares from background fabric.
I chose Kona Pond for my background.


I made 8 easy corner triangles, and used up 16 of my 2 l/2" squares.


I sewed squares together, and laid them all out on my design board.
Can you see how easy it is?


Ta Da!  My beautiful Scrappy Cross Roads Block!


I organized my 2 l/2" squares into color categories....


.... and made another block!
I want to make 2 more to make a pretty square.
Each block measures 16" square.
I really enjoyed making my Scrappy Cross Roads Blocks :)

post signature