
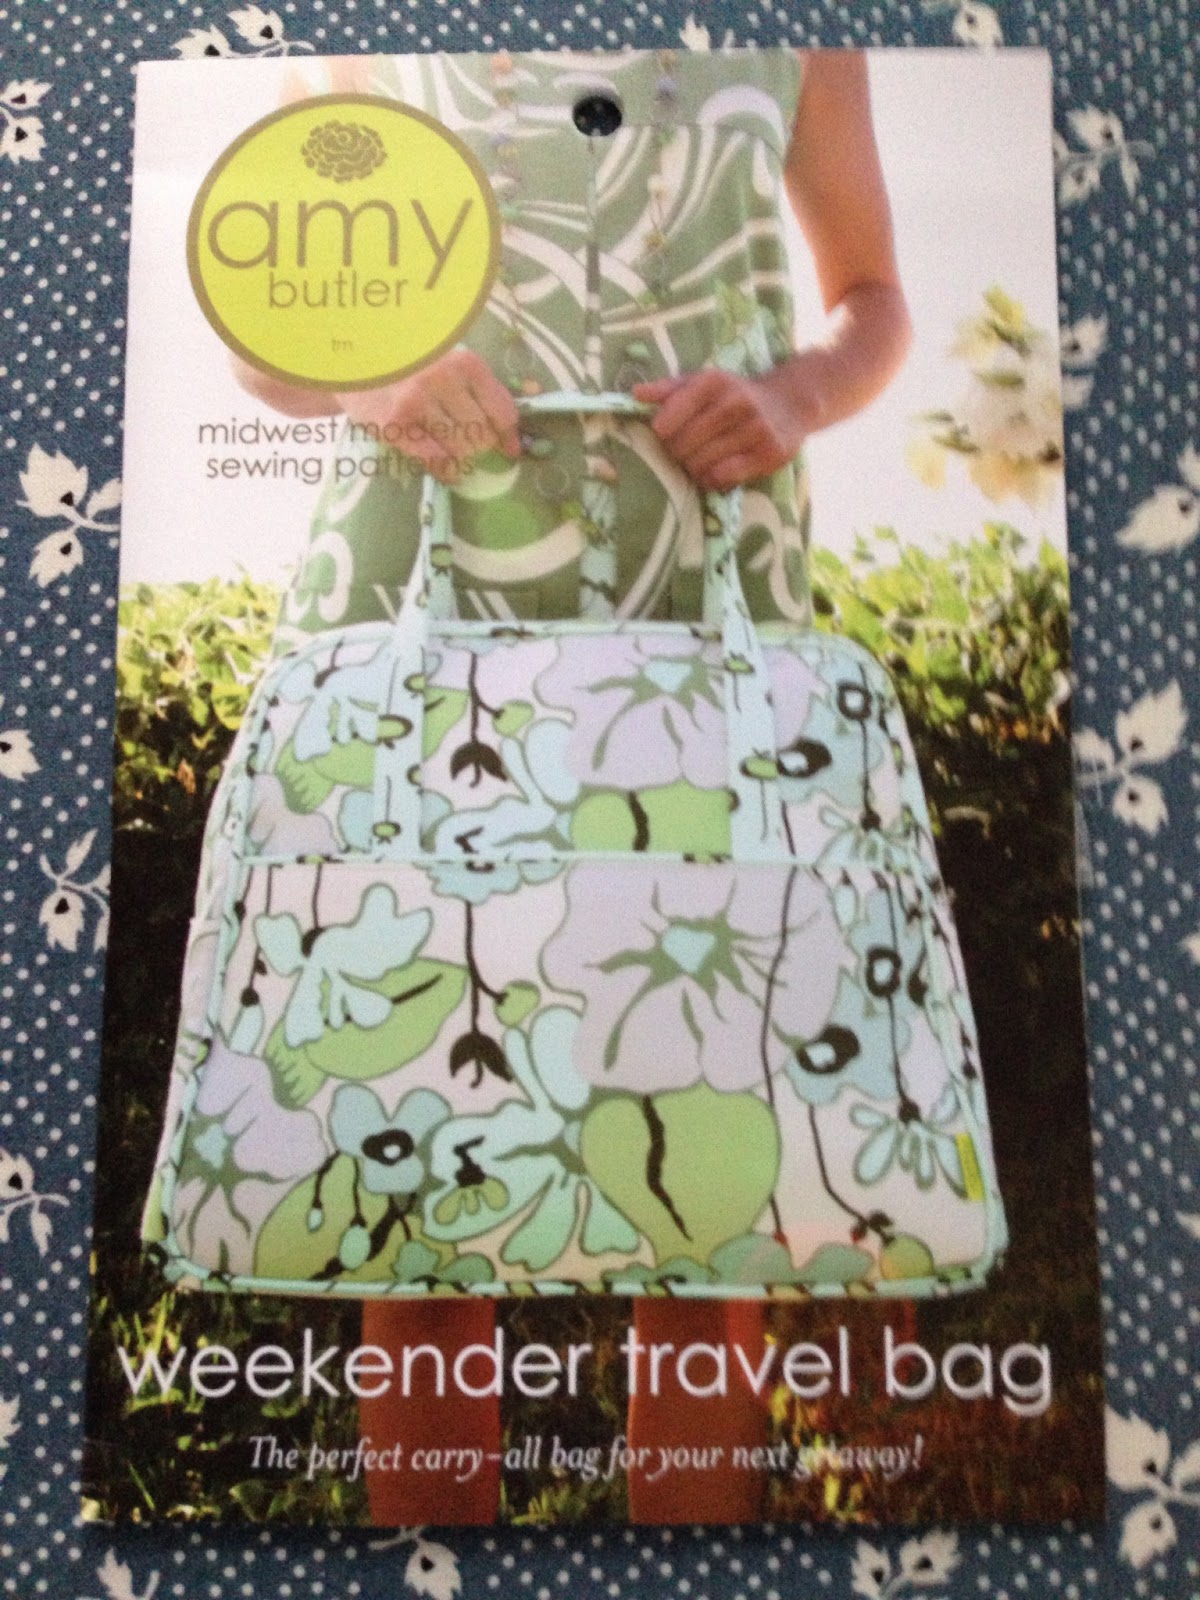
My daughter Vanessa and I saw Amy Butler's Weekender Travel Bag at a quilt shop and we fell in love with it.
I told Vanessa that I would make her one for her birthday which was last January! Vanessa chose the fabric online. It's home dec fabric and she really likes neutrals. When the fabric came in the mail, I wasn't sure they went together well. I posted about it a few weeks ago and got some positive feedback. That made me feel better :)
I have included a lot of photos of the sewing process, but this isn't a tutorial. As I was sewing the bag I found it helpful to look at blogs and see photos of the process.
There are only 4 pattern pieces. It doesn't show in the photo below, but there is a lot of interfacing. Peltex is very heavy, like a thin foam. A woven iron on interfacing was also used.
Sometimes there were 3 or 4 layers of interfacing on one piece.

There were 5 yards of piping. It was easy to sew on with a zipper foot.

This is one of the outer pockets on the bag with the piping sewn on.

The outer bag and the handle have many layers of interfacing which make them really stiff.

I basted the pocket to the outer bag.
So far, all the steps have been very easy.

The piping is thick, and I found it difficult to make the join at the bottom of the bag smooth.

The instructions for adding the zipper were very clear.
This photo shows the side pocket.
I don't have a photo, but I sewed the bottom of the bag to this piece. Then I sewed the two outer bags to the top and bottom piece.
That was the hardest part! I was using a #16 needle but because of the thickness, my sewing machine made terrible sounds and would make a loud buzzing noise until I turned it off. I turned it on, began sewing and the needle would jam and make that bad noise again. I was getting really upset. I mean really upset! I didn't think I would be able to finish the bag......The materials for the bag aren't cheap either. I went to the store and bought a pack of #18 needles and some long quilting pins. I kept at it until the bag was sewn together. The bag was heavy and because of the stiffness of the interfacing, I had to hold it in place really tight. My fingers were sore!
I was so happy when I finally sewed the bag together!!!

The lining was a breeze to sew.
There aren't any pockets on the inside of the bag, so I added some to the lining. This pocket is the same size as the one on the outside of the bag. I sewed a seam down the middle to make two pockets.

I sewed a zipper pocket on the other side of the lining, and added one of my labels :)

I sewed a D ring on the inside of the bag.

The lining is all sewn by hand inside the bag.
Vanessa loves owls, the D ring tag adds a pop of color.
Vanessa loves owls, the D ring tag adds a pop of color.

This is the inside of the finished bag.

Ta da....my Weekender Travel Bag. I'm really pleased with it :)

Vanessa hasn't seen her bag yet, I'm giving it to her in July when I go to visit her.

Vanessa just graduated from Salt Lake Community College with an Associate Degree in Interior Design. In the fall, she will be going to Weber State University to get a Bachelor's in Interior Design with a major in Graphic Design.
Vanessa wants to use the bag for her design books and supplies, at school and on design jobs.

I have a board on Pinterest called Weekender Travel Bag if you want to look at all the other designs :)
I would love to make one for myself out of quilt fabric.


